





Build guide
RiiRoo 24V ATV UTV MX Ride On Car Assembly & Instructions
Watch the build video.
- 24V
- Two Seater
- Up to 8 Years Old
- Remote control
This video can’t play right now. Message us and we’ll help.
RiiRoo MaxPow UTV-MX Ride on Buggy 24v Kids Electric Ride On Car Assembly Instructions Open in the video library
RiiRoo 24V ATV UTV MX Ride On Car Assembly & Instructions at a glance
- Battery
- 24V
- Motors
- 2 x 200W
- Seats
- Two Seater
- Maximum rider age
- Up to 8 Years Old
- Seat material
- Leather Style
- Parental features
- Parental Remote Control
- Special features
- Suspension, Functioning Lights, USB Port, Aux In, Built-In Radio, Integrated Music, Bluetooth Connectivity, Start-Up Sounds, Working Horn, Leather Style
- Media features
- USB Port, Aux In, Built-In Radio, Integrated Music, Bluetooth Connectivity, Start-Up Sounds, Working Horn
- Remote control
- Yes
Shop this model
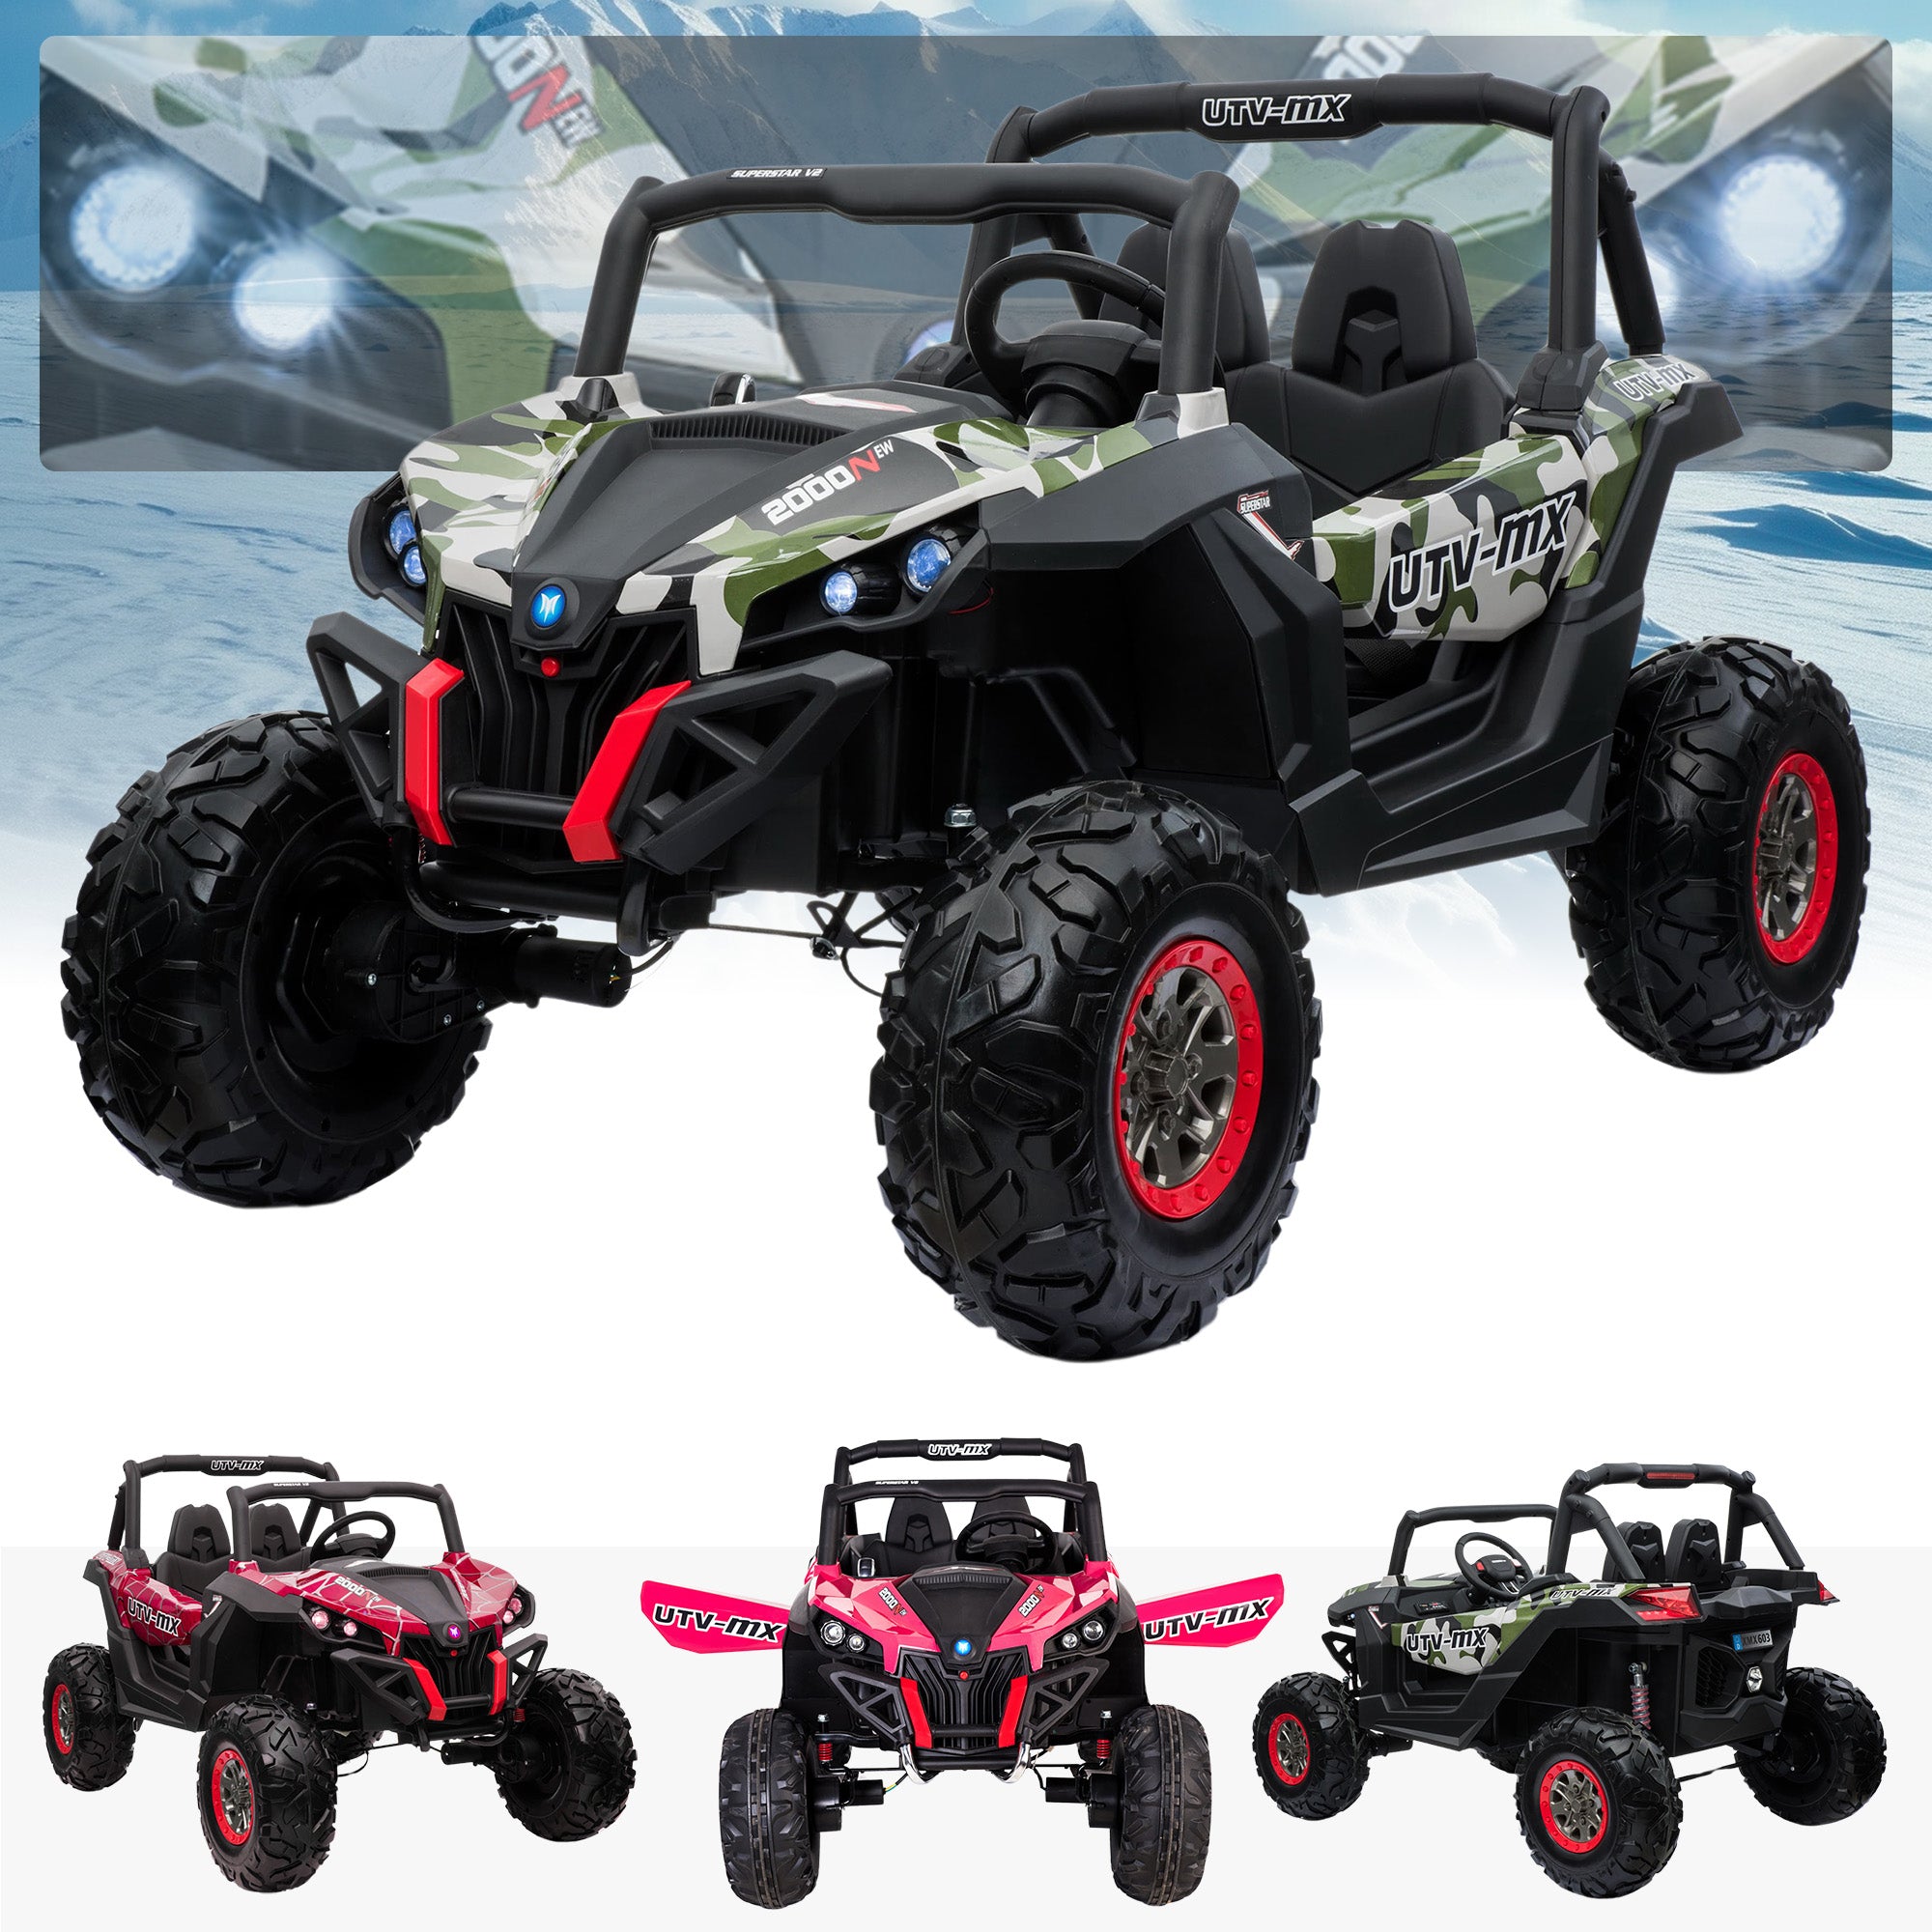
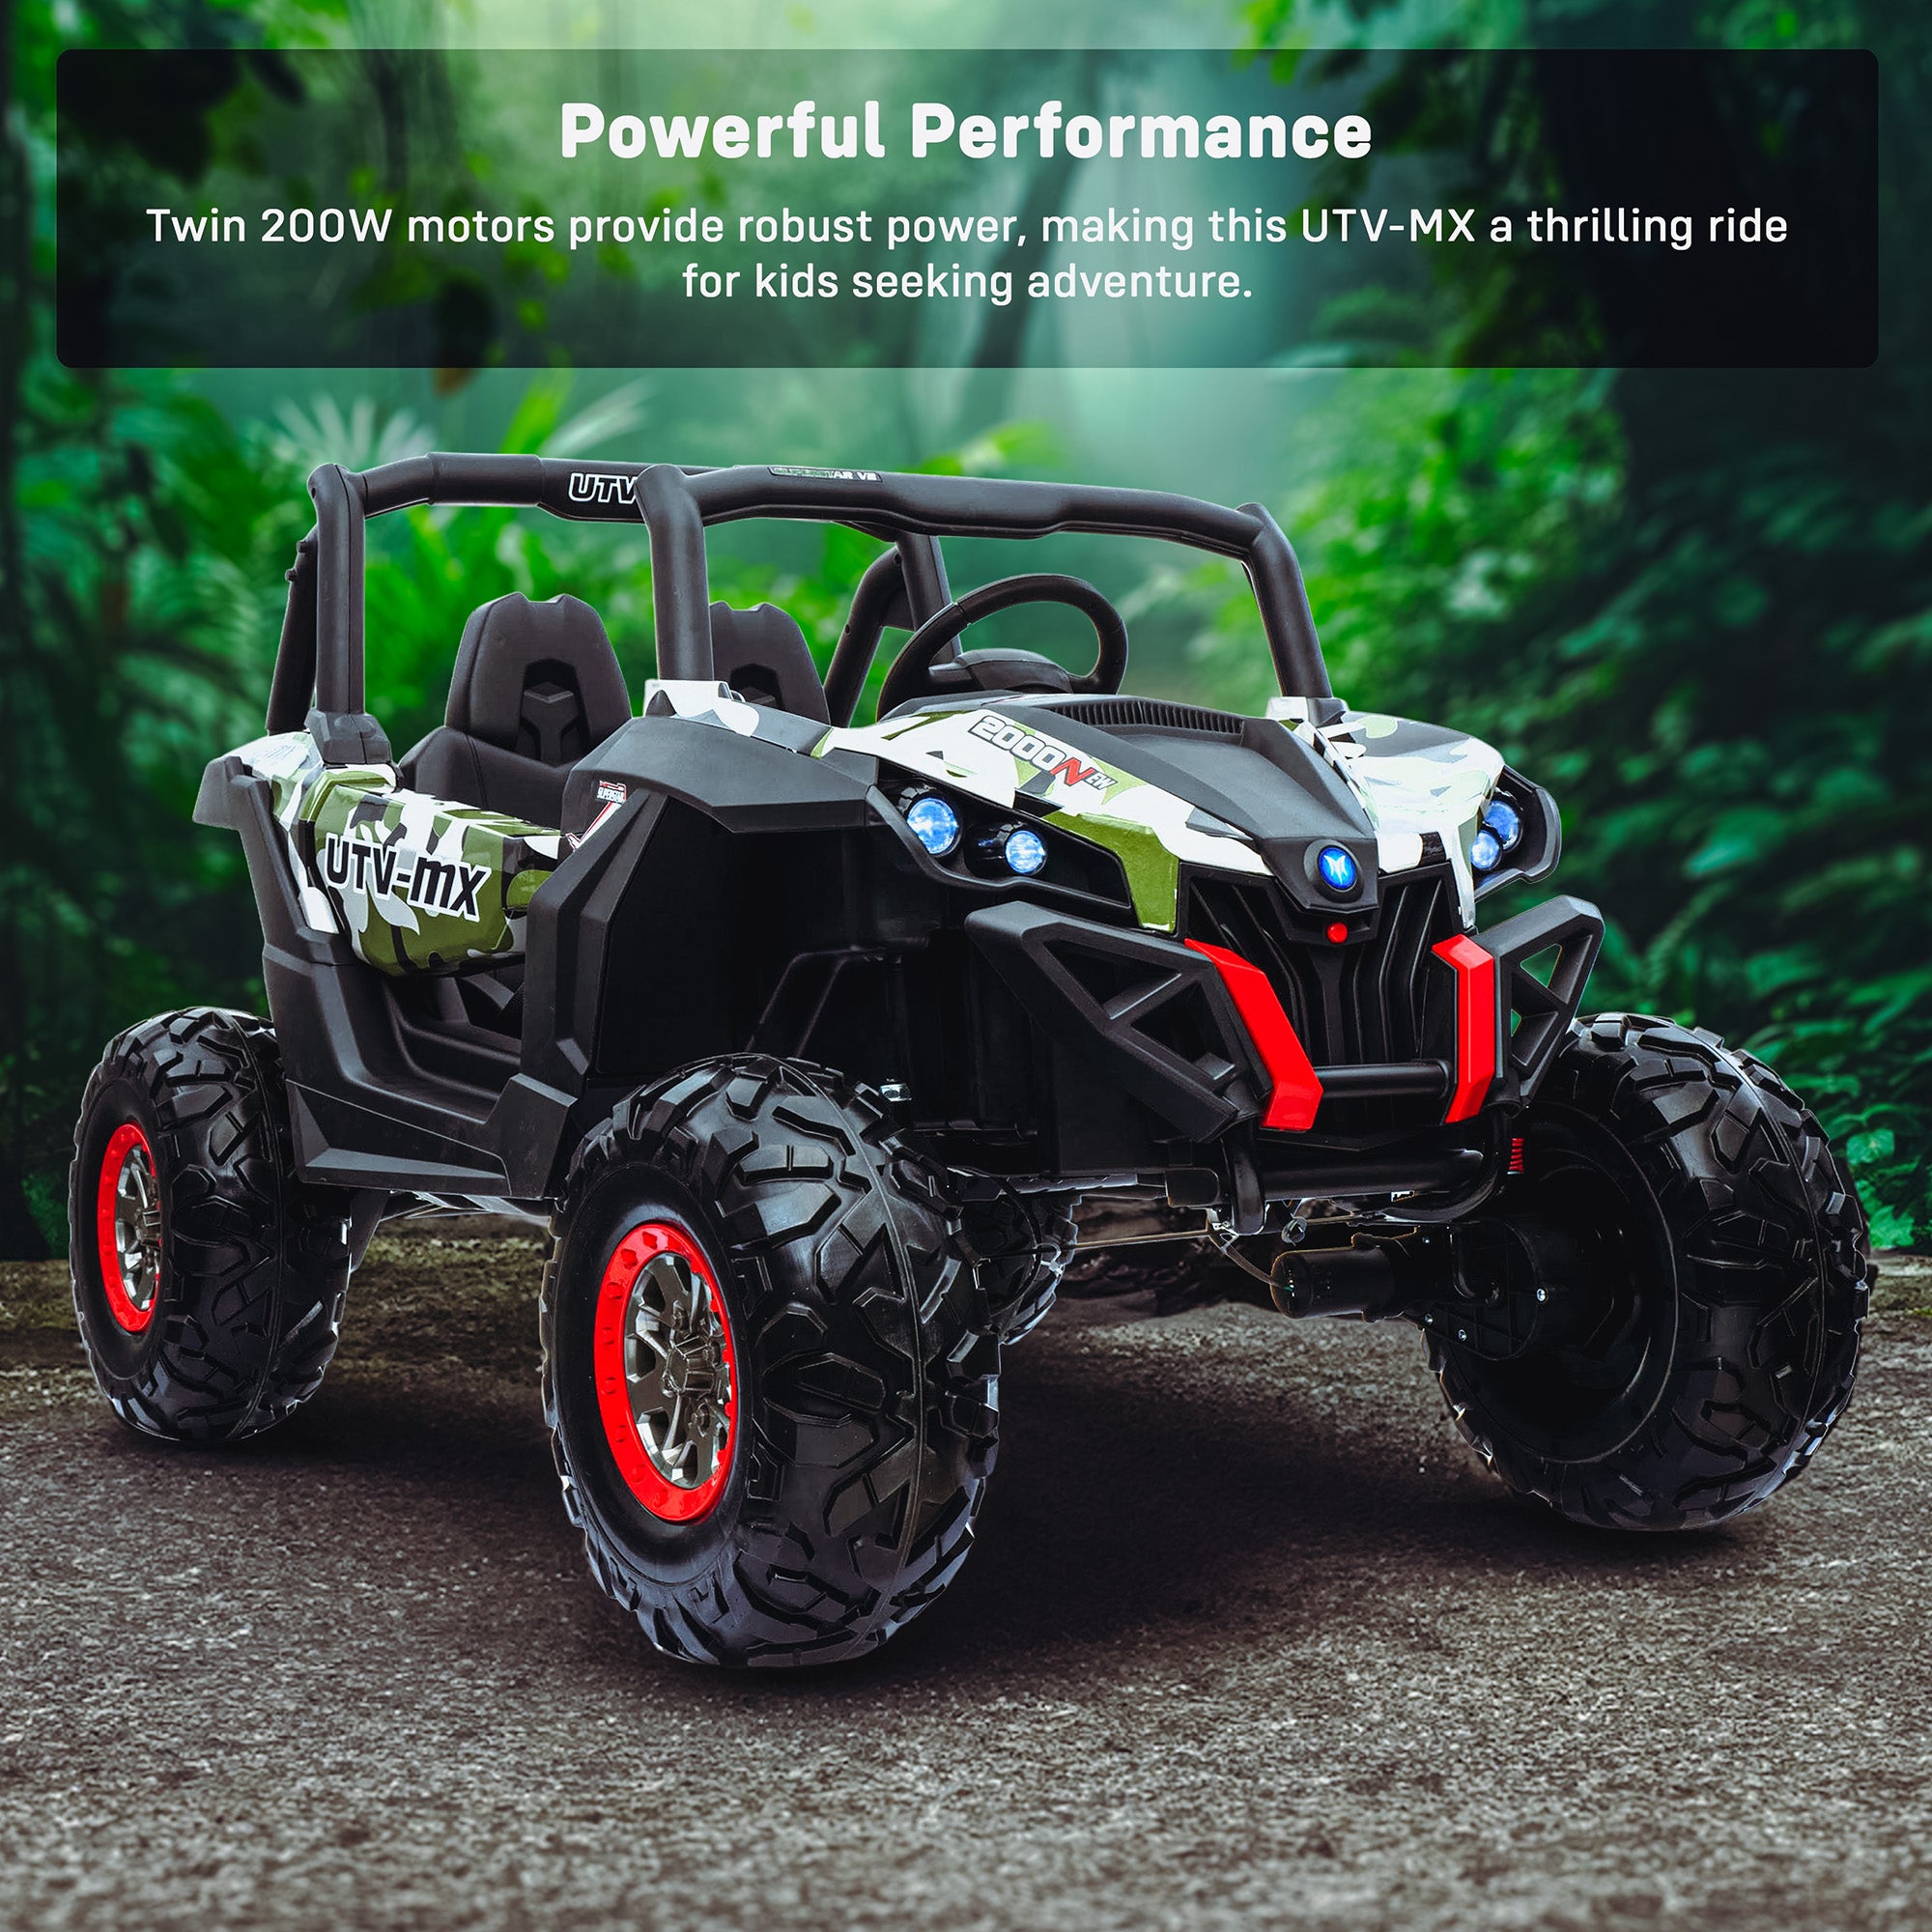
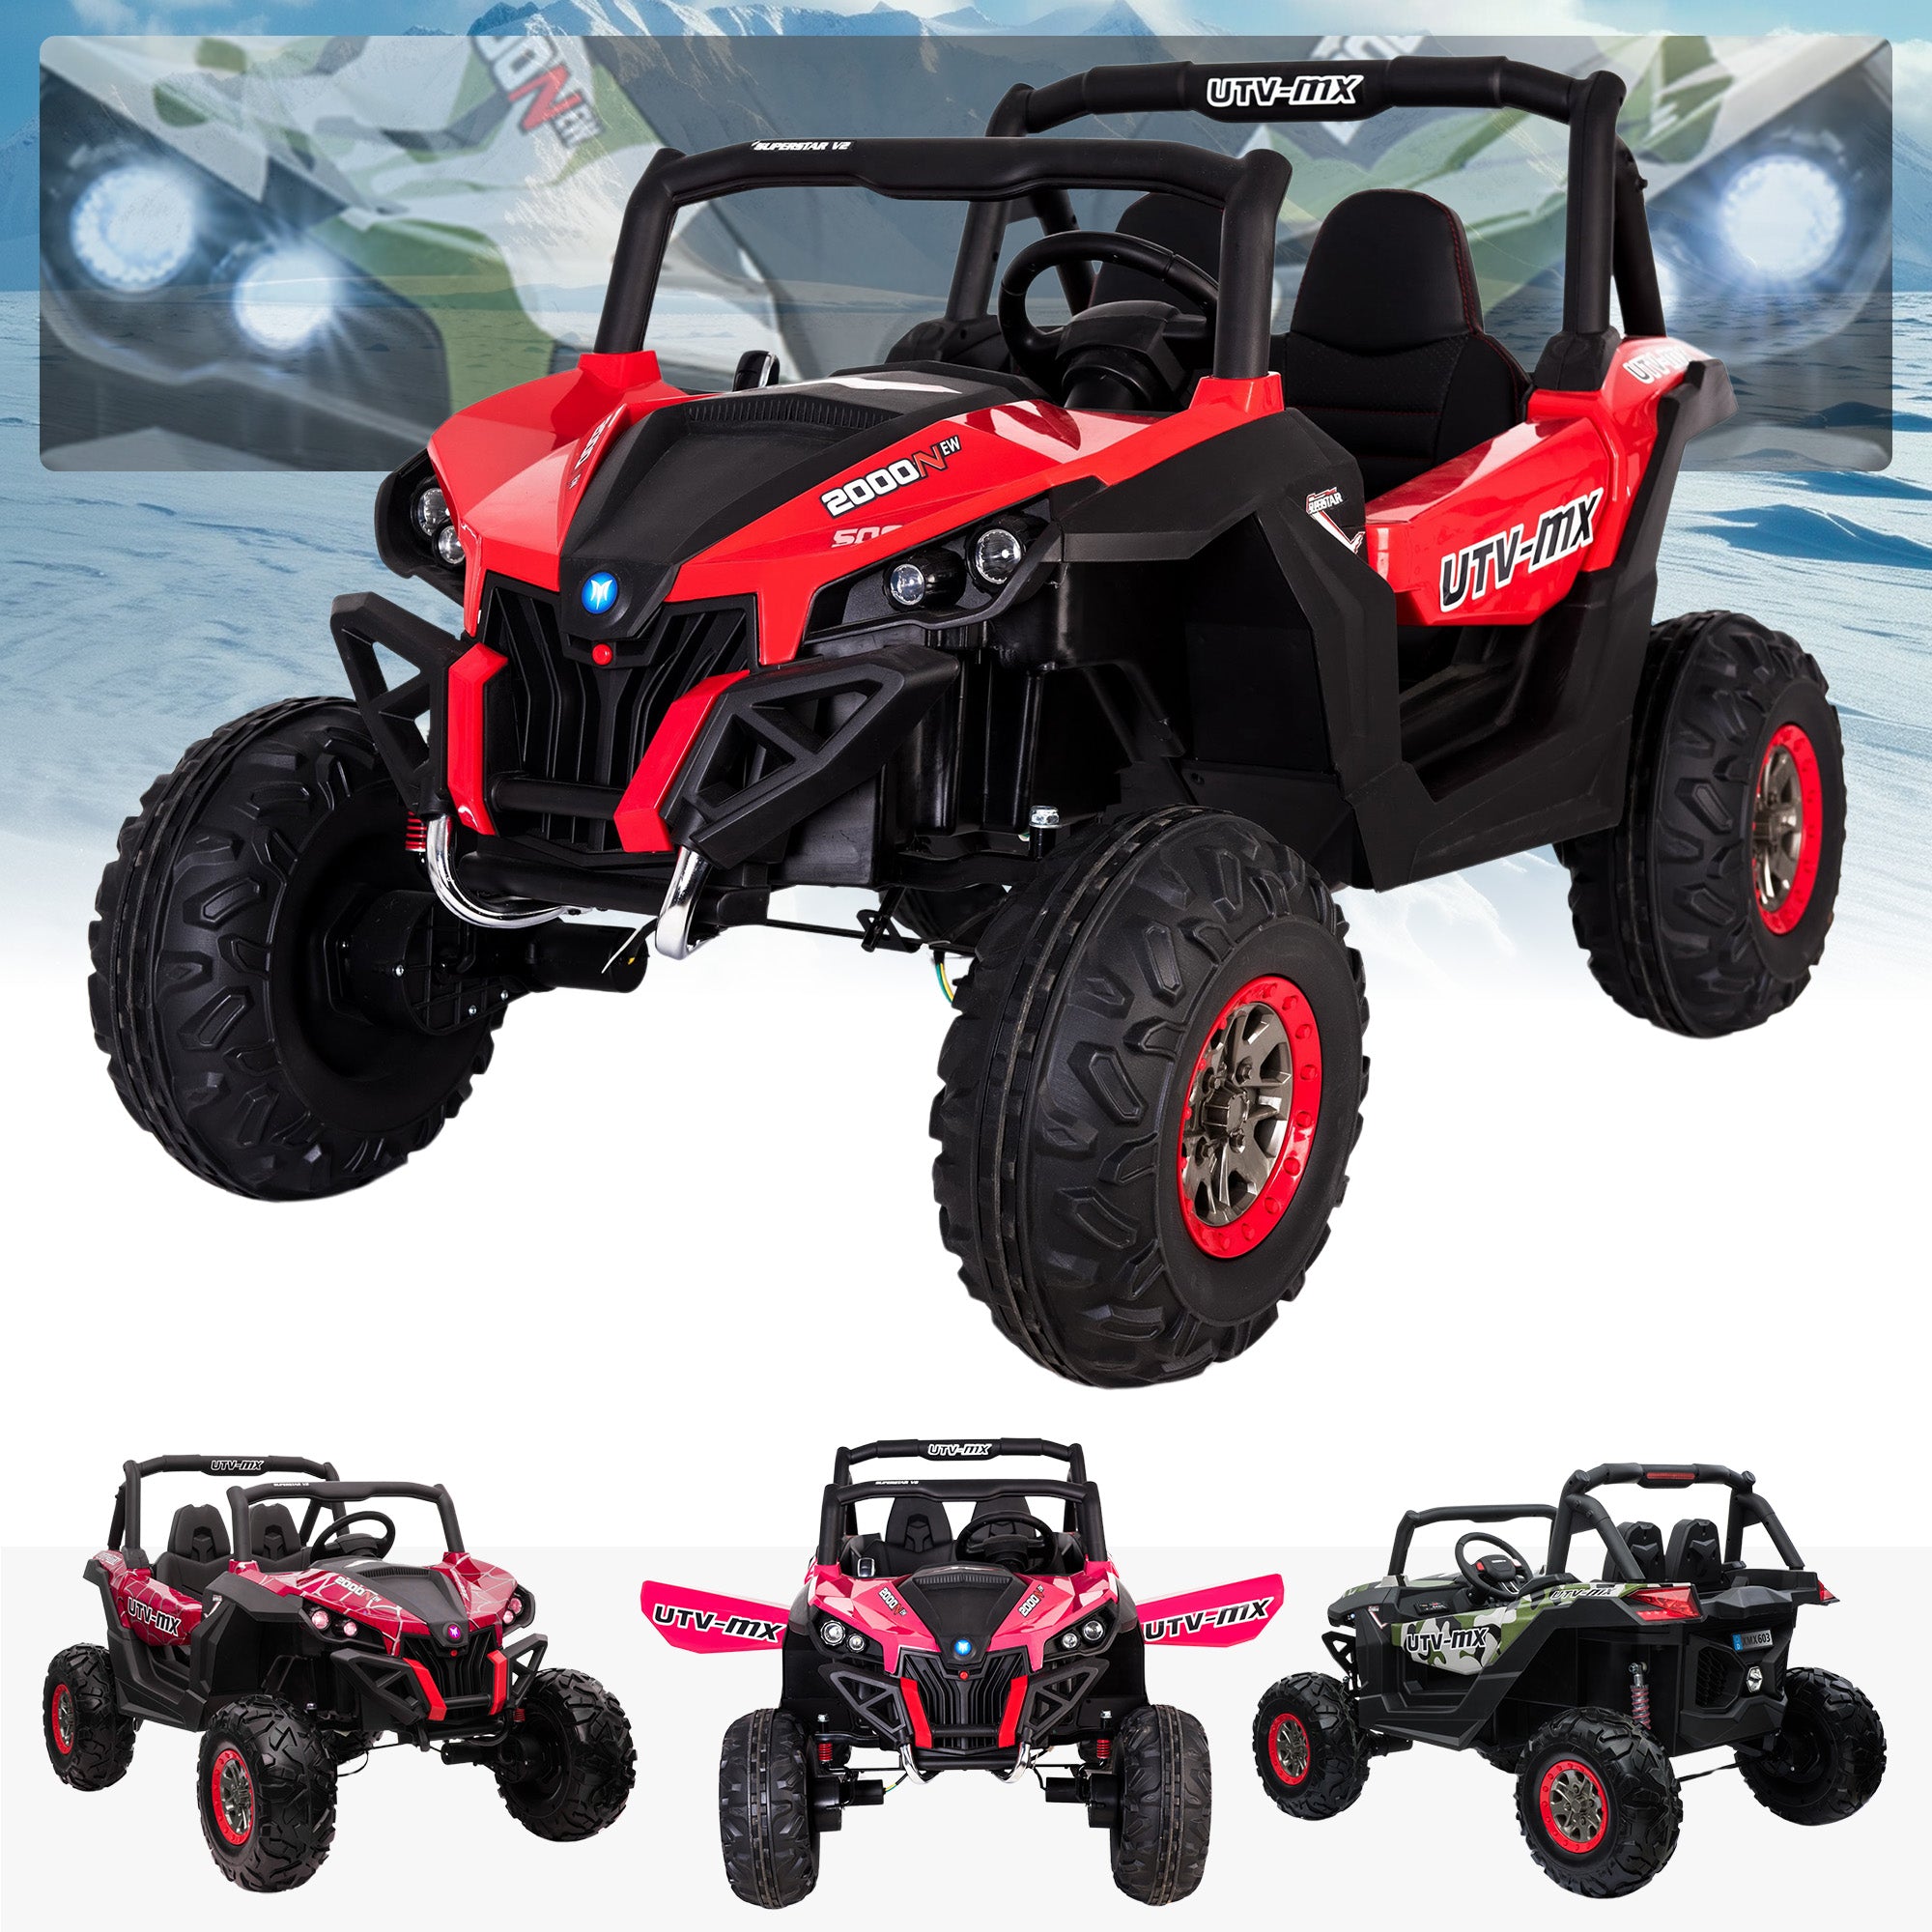
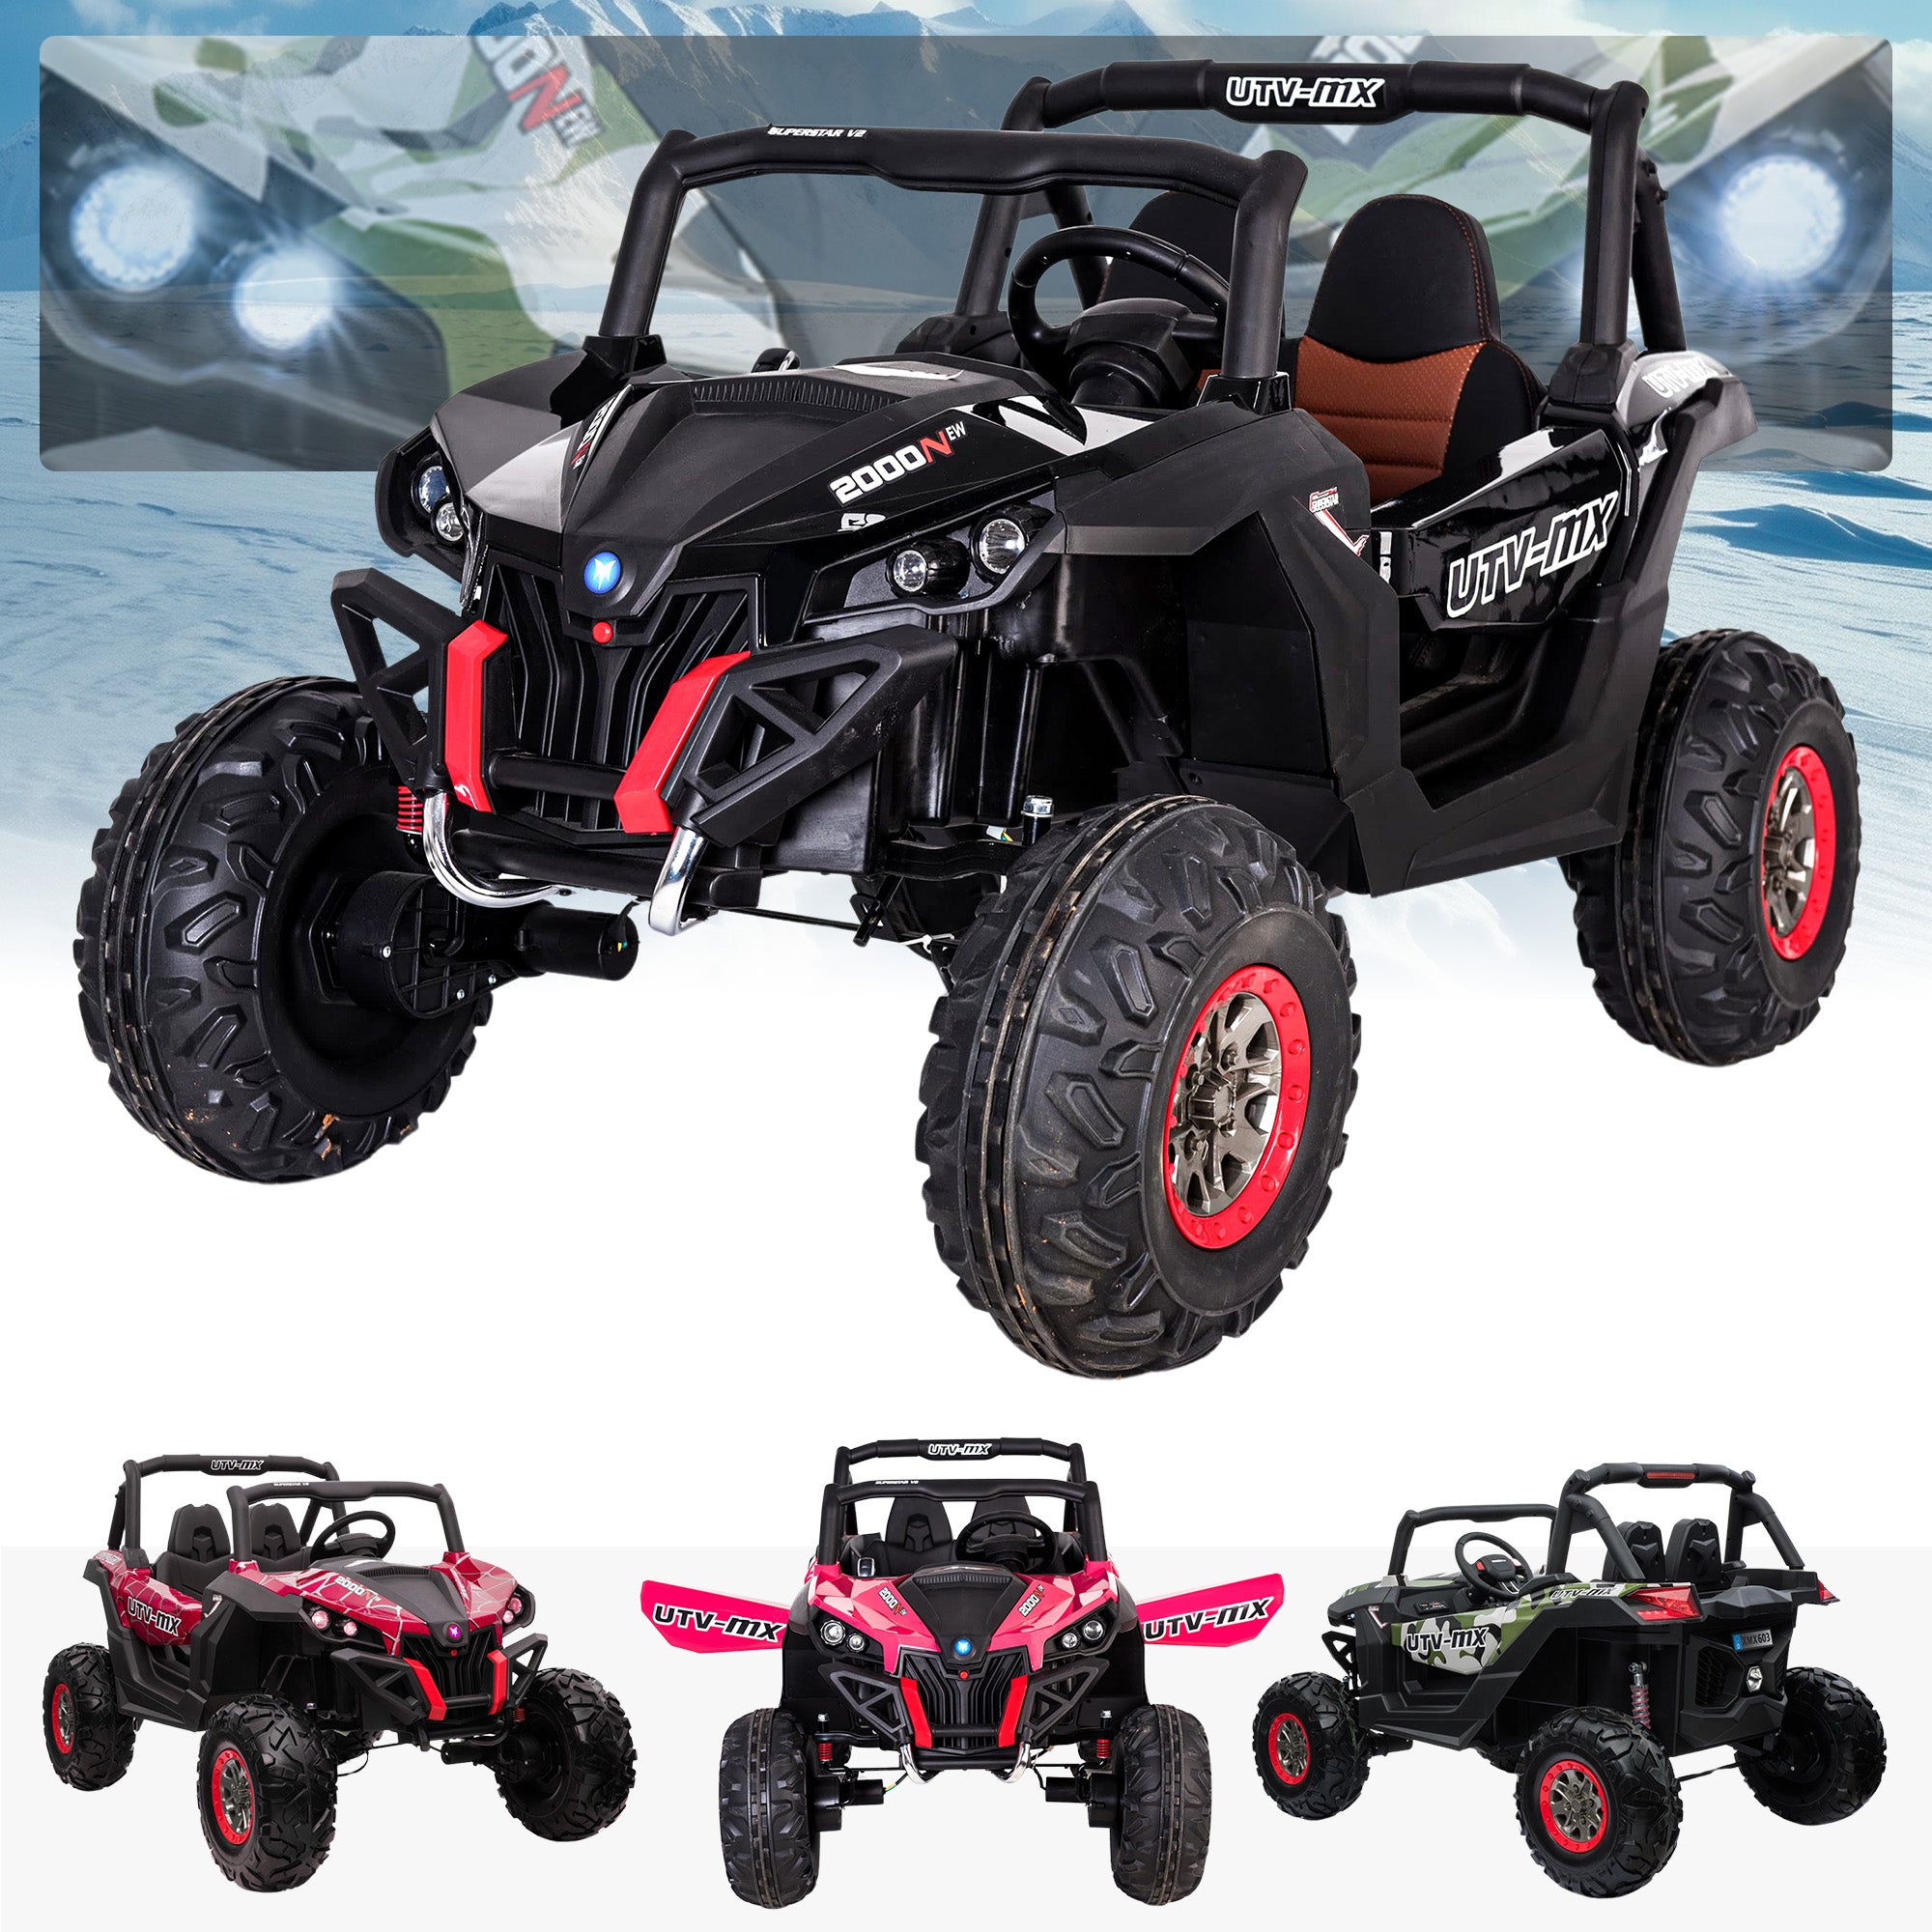
 24V
 Up to 8 Years Old
 2.4G - Optional Upgrade
 Two Seater*
Something not right?


Why buy from RiiRoo


Full written instructions

- Take a look at the parts list and ensure you have all the items to build.
- Please refer to the parts list in the manual.
- Protect and place the car on a flat surface.
- Remove the cable tie from the motor.
- Remove the nuts & bolts as shown.
- Secure the rear bracket to the springs with nut & bolt.
- Repeat process on the other side.
- Insert the axle through the holes in the suspension mechanism.
- Line up the motor with the axel and the hole in the body of the car.
- For the rear wheels, ensure the assembly order of the hardware is as follows - wheel - washer - & finally the nut.
- Repeat process on the other side.
- Attach the rear wheel to the relative gaps on the wheel.
- Repeat process on the other side.
- Disassemble the front suspension.
- Repeat process on the other side.
- Disassemble the front suspension.
- Line up the steering rack with the steering rod.
- Reassemble the front suspension as shown.
- Repeat process on the other side.
- Secure the steering rod with a washer & split pin.
- For the front wheels, ensure the assembly order of the hardware is as follows - wheel - washer - & finally the nut.
- Attach the front wheel to the relative gaps on the wheel.
- Repeat process on the other side.
- Connect the steering wheel wire to the multiplug, protruding from the steering console.
- Ensure the wire is threaded back through the console once connected to prevent damage.
- Ensure the steering wheel is lined up with the hole on the steering rod.
- Secure the steering wheel with the nut & bolt that was previously removed.
- Secure the steering rod with the nut & bolt that was previously removed.
- Connect the battery terminal multi-plug.
- Once the battery terminals are connected, check to see if the car powers up.
- Attach the front bonnet as shown.
- Attach the front roll bar by pushing it into place firmly.
- Secure it with the screws.
- Repeat process on the other side.
- Attach the rear roll bar by pushing firmly into place.
- Slide seat onto the brackets.
Need more help?


We reply within one working day, Monday to Friday.
Missing Number Plates?
You can request them here for a much quicker service than going through support!
Self-Service
We have an extensive range of helpful content, including Assembly tutorials and Troubleshooting tips which you can find here
If you can't find your answer there, feel free to get in touch with us.
Phone
We're phone-free for speedy service - opt for video calls for product peeks and tech support!
Will we never ring you!? Occasionally, when it's needed :)
Customer Support
Use the form to reach out, we'll outshine our competitors with speedy responses and superior service!
Sorry, the form didn't load. Please refresh the page and try again.