


Updated: March 26, 2025
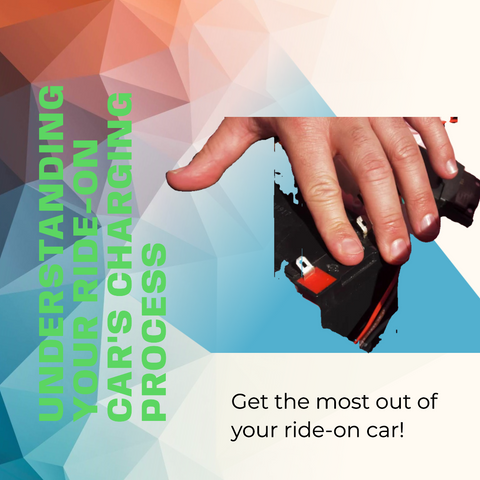
Charging your child’s ride-on car should be simple, but how do you know it’s working?
This 2025 guide shows you how to check, troubleshoot, and keep the fun rolling. Learn charging times.
Signs Your Ride-On Car Is Charging
Ensuring your ride-on car charges properly keeps it ready for playtime. Here’s how to check—plus battery care tips.
1. Check the Voltage: The 7V Rule
Use a multimeter to measure the battery’s voltage while charging—set it to 20V DC, connect the black probe to the negative terminal, red to positive.
A healthy 12V battery should read around 7V during charging. Below that, the battery or charger may have an issue.
2. Monitor Charging Time: 12V Battery Guide
A new 12V battery needs 6-8 hours for its first charge. After that, it should take about 6 hours—learn more.
Longer times or short runtimes may signal a problem with the battery or charger.
3. Watch the Ride: Slowdowns
Notice the car slowing down or losing power? It might need a charge—similar to motorcycle toys.
A fully charged car should run at a consistent speed; slowdowns indicate a low battery.
4. Feel the Charger: Warmth Check
A working charger should feel slightly warm during use, showing power is flowing.
If it’s cool, it may not be charging—check for faults or consider a replacement charger.
5. Inspect the Battery: Age and Wear
Batteries degrade over time—longer charge times, shorter runs, or poor performance may mean it’s time for a new one.
If Your Ride-On Car Isn’t Charging
- Check Charger: If it’s not warm, it may be faulty—consider a replacement.
- Inspect Wires: Ensure all connections to the battery and charger are secure.
- Test Battery: Use a voltmeter; no reading or visible damage means it’s likely dead.
- Fix Parts: Check for loose wires, corroded connectors, or tight wheel retainers.
Troubleshoot these issues to get your car back in action!
Conclusion
Checking voltage, charge time, ride performance, and the charger ensures your ride-on car is always ready.
With these tips, keep your child’s adventures rolling smoothly in 2025!
FAQs
How often should I charge the battery?
Charge after every use or daily if used often—don’t let it fully deplete.
What if the car stops during use?
Check the battery charge; if it’s not the issue, inspect wires or switches—consult the manual.
Can I use a higher voltage charger?
No, it can damage the battery—always use the manufacturer’s recommended charger.
Ready to Ride? 🚀
Loved “Understanding Your Ride-On Car’s Charging Process?” Want more tips?
Visit RiiRoo.com or chat live with us for ride-on fun!


Share:
Common Issues with Kids' Toy Car Batteries and How to Fix Them
How to Charge a 6V Ride on Car Toy Battery