


Updated: 15.4.25
Revving up your bike only to feel it falter? Poor throttle response, sluggish acceleration, or unexpected fuel consumption could all point to one sneaky culprit: a clogged air filter.
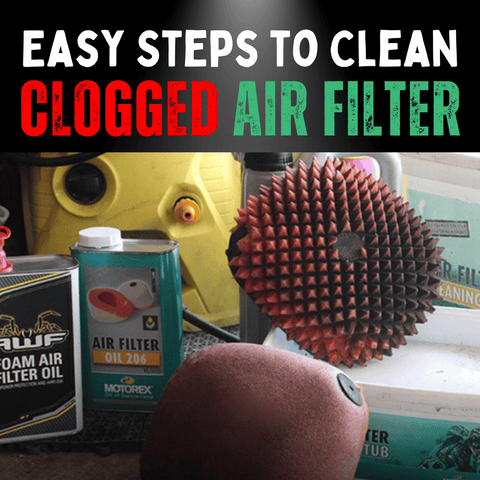
Good news—it’s often a simple fix! Cleaning or replacing your air filter is a fast, DIY-friendly way to bring your bike back to full performance without breaking the bank.
This guide walks you through everything from identifying symptoms to properly reinstalling a clean or new filter. Let’s get stuck in!
Quick Tip:
If your filter is oil-soaked, fuel-soaked, or made from paper, replace it—don’t clean it. Attempting to wash or blow out a paper filter can reduce its effectiveness and damage your engine.
1. How to Tell If Your Air Filter Needs Cleaning
Before you grab your tools, confirm that your air filter is the problem.
Common Symptoms of a Clogged Air Filter
- Sluggish throttle response
- Rough idling or stalling
- Increased fuel consumption
- Black smoke from the exhaust
Inspecting the Filter
- Locate the air filter: Usually housed in the airbox, accessible from the side or under the seat. Refer to your manual for exact placement.
- Check the condition: A clean filter is white or light grey. If it’s dark, grimy, or clogged with visible debris, it's time for action.
2. Pre-Cleaning Safety Prep
- Turn off the engine and remove the key.
- Wear gloves to keep your hands clean and protect the filter from oils.
- Work in a well-ventilated area, especially if you’ll use cleaners or compressed air.
3. Removing the Filter
- Open the airbox or access panel using a screwdriver.
- Carefully unscrew and lift the air filter from its compartment.
Recommended Tools
- Soft brush
- Compressed air (optional but helpful)
- Phillips or flathead screwdriver (depending on your bike)
4. Cleaning the Air Filter
- Brush off debris: Use a soft brush to gently clean loose particles.
- Use compressed air: Blow dirt outward from the clean side, not inward.
- Inspect again: If still dirty or damaged, consider replacing it.
What NOT to Do
- Don’t use soap and water unless your filter is washable foam or fabric.
- Don’t reinsert the filter if it’s still damp—this can damage your engine.
- Don’t scrub aggressively; it can ruin filter fibres.
5. Replacing the Filter (When Necessary)
- Find the right part: Match it to your bike’s make, model, and year.
- Install: Position the new filter securely and screw it in place.
6. Reinstallation and Final Checks
- Gently place the filter back into the housing.
- Reattach screws and close the airbox securely.
- Start your bike and test throttle responsiveness.
Post-Cleaning Benefits
- Smoother engine response and acceleration
- Better fuel efficiency
- Reduced engine wear
Conclusion
A clean or freshly replaced air filter can do wonders for your bike’s performance and longevity.
It’s quick, easy, and doesn’t require pro-level mechanical skills—just a few tools and a bit of attention.
So next time your ride feels off, check that filter first. Your engine will thank you!


Share:
10 Alarming Symptoms of a Clogged Air Filter: DON'T IGNORE THESE!
5 Essential Motorcycle Chain Maintenance Tips - EVERY Rider Needs to Know