Skip to content
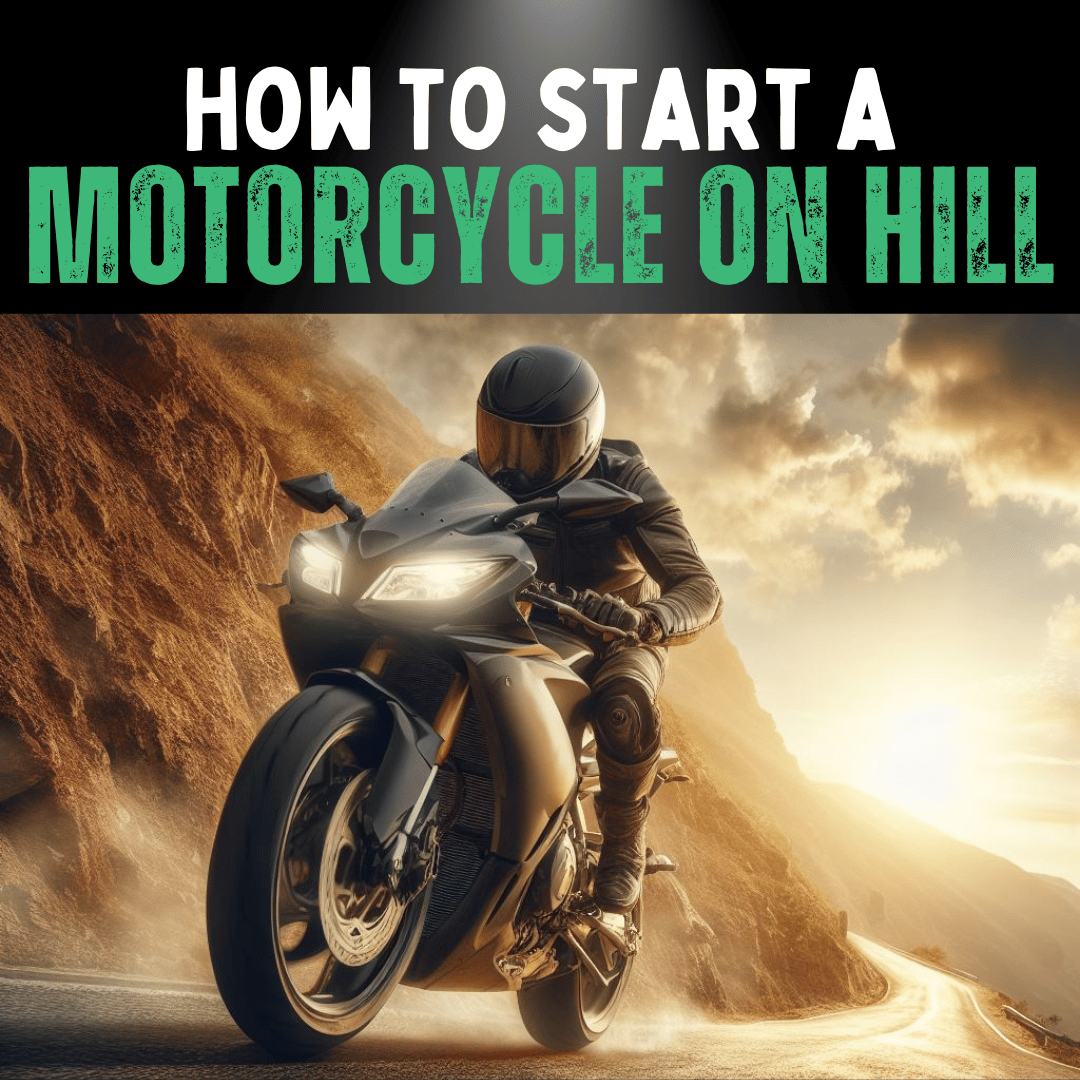
An image of a motorcycle going up hill

How to Start A Motorcycle on a Hill

An image of a motorcycle going up hill

Let's face it; starting a motorcycle on a hill can feel like a real-life version of "Mission: Impossible."

You're on an incline, your motorcycle is heavy, and the pull of gravity seems stronger than ever.

But don't worry. With the right technique, and yes, a fair bit of practice, you can master this skill and conquer hills like a pro.

This article will guide you through the A to Z of starting a motorcycle on a hill, ensuring that your rides are not just exhilarating but also safe.

The Steps to Starting Your Motorcycle on a Hill Summarised

Main Steps Basic Instructions
Position Your Motorcycle Stop perpendicular to the hill's slope
Foot Placement Place both feet firmly on the ground
Brake Management Apply rear brake to prevent rolling back
Apply Throttle Increase throttle slightly more than usual
Clutch Control Slowly release the clutch while applying throttle
Final Steps: Moving Forward Release the brakes and move forward

Preparation Steps

Choosing the Right Motorcycle

The type of bike you ride can make a world of difference.

A lightweight model with a smaller engine might be easier to control than a heavy cruiser.

Check your bike's specs and understand how its features might affect your ability to start on a hill.

Got ABS?

That could be a game-changer for your hill starts. Remember, knowledge is power.

Understanding the Hill

Not all hills are created equal. A steep, gravel-covered slope will need a different approach than a gentle, asphalt-covered incline.

Understanding the hill's gradient and surface can prepare you for the challenges ahead.

The Rider's Mindset and Skill Level

Are you a novice rider or have you been riding for a while?

Your skill level can greatly impact how well you'll handle the hill start.

Mentally prepare yourself for the task at hand; remember, confidence is half the battle won.

Safety First

Before you even attempt a hill start, make sure you're decked out in the right safety gear—helmet, jacket, gloves, and boots.

Your motorcycle should be in top condition too. A quick brake and clutch check can go a long way in preventing any mishaps.

Basic Training

Never skimp on training. If you're new to riding or want to refresh your skills, consider taking a motorcycle training course.

They often cover challenging manoeuvres like hill starts.

Mechanical Checks Before Attempting a Hill Start

Before you even consider ascending that daunting hill on your motorcycle, some mechanical checks are absolutely essential.

These will ensure that your bike is in the best condition to tackle the challenge safely.

Brakes

  1. Inspect the Brake Pads: Worn-out brake pads won't give you the stopping power you need on a hill. Ensure they are in good condition.

  2. Check Brake Fluid Levels: Low brake fluid could affect brake performance. Top up if necessary.

Clutch

  1. Clutch Cable Adjustment: Ensure that your clutch cable has the correct amount of slack. Too much or too little could make clutch control difficult.

  2. Friction Zone Test: Test the friction zone of your clutch. Knowing exactly where it engages will make hill starts far easier.

Tyres

  1. Pressure Check: Under-inflated tyres can affect your bike's performance. Make sure they are inflated to the manufacturer's specifications.

  2. Tread Depth: Tyres with low tread depth will offer less grip, making hill starts more dangerous. Make sure your tyres meet the minimum legal tread depth.

Engine

  1. Oil Levels: Low oil levels can lead to poor engine performance. Check and top up if necessary.

  2. Coolant Levels: Especially important if you're riding in hot weather. Make sure it's at the recommended level.

Performing these checks ensures you're not caught off guard, leaving you free to concentrate solely on the technique you'll need to ascend that hill successfully.

Related: 25 GAME-CHANGING Motorcycle Hacks You NEED to Know

Emergency Procedures

Even with the best preparation and technique, sometimes things don't go as planned.

It's vital to know what to do in emergency situations to ensure your safety and that of others around you.

If Your Bike Starts to Roll Back

  1. Don't Panic: It's easy to get flustered, but that could make things worse. Keep a cool head.

  2. Engage the Clutch: Pull the clutch lever in fully to disengage the engine from the wheels.

  3. Apply Both Brakes: Use both your front and rear brakes to bring your bike to a complete stop.

  4. Stabilise and Reset: Once you've stopped, stabilise the bike with your feet and prepare to try again.

If the Motorcycle Stalls

  1. Stay Calm: The natural response might be to rev the engine, but that's likely to make the problem worse.

  2. Hold Brakes: Keep both brakes engaged to prevent rolling.

  3. Restart the Engine: With the bike stable and brakes engaged, restart the engine.

  4. Check Surroundings: Before you try to move again, ensure it's safe to do so, especially if you've stalled in traffic.

In Case of Oncoming Traffic

  1. Signal Clearly: Use your hand signals and/or lights to indicate that you're having trouble.

  2. Move to a Safe Area: If possible, guide your bike to the side of the road to let traffic pass.

  3. Wait for a Clear Path: Wait for a gap in traffic before you attempt to start again.

By familiarising yourself with these emergency procedures, you're not just preparing to succeed; you're preparing to fail safely.

Knowing how to handle these situations can make the difference between a minor hiccup and a serious incident.

The Step-by-Step Guide

Position Your Motorcycle

First thing's first: positioning. When you're stopping on a hill, your motorcycle should be perpendicular to the slope.

Use the rear brake to prevent any rolling backwards.

Think of the rear brake as your best friend who holds you back from making rash decisions—like rolling down a hill!

Foot Placement

As you come to a stop, place both feet on the ground. Your footpegs should be in a position that allows for easy reach.

Feeling like you're in a yoga pose?

That's because balance is key here!

Brake Management

Are you a two-finger braker or a four-finger braker?

Regardless, when you're stopped, hold down the rear brake with your right foot and the front brake with your hand.

This is the time to exhibit control—like a maestro leading an orchestra, each finger has a role to play.

Apply Throttle

Time to fire up that engine! Apply a bit more throttle than you usually would.

You'll need the extra revs to overcome gravity. It's like giving yourself a bit of a running start in a foot race.

Clutch Control

Slowly start releasing the clutch while applying enough throttle.

It's a delicate dance between the clutch and the throttle, one too fast or too slow and you either stall or zoom ahead uncontrollably.

Find that sweet spot.

Final Steps: Moving Forward

As you get moving, gently release the brakes and shift into first gear.

Remember, slow and steady wins the race—or at least gets you up the hill safely.

Related: How to Shift Gears on a Motorcycle (THE RIGHT WAY)

Types of Hills and Adapted Techniques

Not all hills are created equal, and the type of hill you're tackling could require slight variations in your approach.

From gravel slopes to wet asphalt, each presents its own set of challenges.

Here's a guide on how to adapt your technique based on the type of hill.

Gravel or Loose Surface Hills

  1. Increased Throttle Control: Due to less grip, you'll need more throttle control to prevent wheel spin.

  2. Body Position: Lean slightly forward to put more weight on the front wheel, improving grip.

  3. Brake Smoothly: Use the brakes gently to avoid locking the wheels and sliding.

Wet or Slippery Hills

  1. Reduced Throttle: A slick surface requires less power to get moving, so use a lighter throttle.

  2. Gentle Braking: Avoid harsh braking, which can easily lead to skids.

  3. Focus on Balance: Keep your weight central to help maintain balance on the slippery surface.

Steep Hills

  1. Higher Revs: Steeper hills require more power, so keep your engine revs up.

  2. Firm Grip on Brakes: You'll need to rely more on your brakes to prevent rolling back.

  3. Slow Clutch Release: Release the clutch more slowly than you would on a gentler incline to avoid stalling.

Hills with Obstacles

  1. Plan Ahead: Look for rocks, potholes, or other obstacles in your path and plan your trajectory.

  2. Flexibility: Be prepared to adjust your speed and position at a moment's notice.

  3. Quick Reflexes: Be ready to use your brakes and clutch quickly to navigate around the obstacles.

By understanding the types of hills you'll encounter and how to adapt your technique for each, you'll be better equipped to conquer any uphill battle—literally.

Section 3: Additional Tips and Techniques

Hill Climbing Techniques

If you're ready to up your game, why not learn some advanced hill climbing techniques? Trust us; your future self will thank you.

Common Mistakes and How to Avoid Them

Stalling the bike?

Rolling backward?

These are common mistakes but entirely avoidable.

We'll delve into how you can sidestep these pitfalls like a pro.

Section 4: Practice Makes Perfect

Finding a Safe Practice Environment

The last thing you want is to practice on a busy road. Look for a controlled, traffic-free environment where you can make mistakes without dire consequences.

Regular Practice Routine

Consistency is your ally here. The more you practice, the better you get. It's that simple.

Safety Gear and Its Role

You may have mastered the motorcycle hill start, but never underestimate the importance of the right safety gear.

Not only can it save you in the event of an accident, but it can also make your ride more comfortable, giving you the confidence to focus solely on your technique, which is crucial for your module 2 riding test.

Helmet

  1. Visibility: Choose a helmet with a clear visor that offers good peripheral vision, especially important when you're on an incline and need to keep an eye out for hazards.

  2. Ventilation: Proper airflow keeps you cool, reducing stress and fatigue, both of which are counterproductive when attempting a hill start.

Jacket and Gloves

  1. Protection: A well-armoured jacket and gloves protect you from road rash and absorb some of the shock in case of a fall.

  2. Grip: Quality gloves give you better grip and control over the clutch, throttle, and brakes.

Boots

  1. Ankle Support: Good boots offer strong ankle support, essential when you're planting your feet on uneven ground, especially on a hill incline.

  2. Sole Grip: Look for boots with non-slip soles to ensure you get good traction when your feet are on the ground, particularly crucial for those points to remember for your motorcycle riding test.

Other Safety Accessories

  1. Back Protector: Provides extra spine protection.

  2. Knee Guards: Protect your knees from impact and abrasion.

Equipping yourself with the appropriate safety gear not only protects you physically but also boosts your confidence, enabling you to focus on the task at hand: starting your motorcycle on that challenging hill.

Conclusion and Additional Tips

Mastering the art of starting a motorcycle on a hill is an essential skill for any beginner rider or new rider.

It's also an important manoeuvre for your module 2 road test.

Additional Tips for Success

  1. Regular Maintenance: Before tackling any hill starts or moving off at an angle, make sure your motorcycle is in top condition. A well-maintained rear brake system and clutch are crucial for your safety.

  2. Practice in a Controlled Environment: The best place to practice is in a low-traffic area where you can focus solely on your technique without the pressure of oncoming vehicles. This is particularly important if you're a new rider or beginner rider.

  3. Graduate from Easy to Difficult: Don't start by tackling the steepest hill you can find. Work your way up from gentler slopes to more challenging inclines like a 10% gradient road sign as your confidence grows.

  4. Consult Experienced Riders: If you're having difficulty, don't hesitate to ask for advice from more experienced riders or even examiners. You can learn a lot from other people's experiences and mistakes, particularly when it comes to finding the clutch bite point and how to use the rear brake effectively.

  5. Stay Updated: Techniques and safety gear are continually evolving. Keep up-to-date with the latest advice and equipment to ensure you're always riding as safely as possible.

Final Thoughts

As you gain more experience and become more comfortable with various techniques and safety measures, you'll find that starting on a hill is just another part of the exciting and rewarding world of motorcycle riding.

Feel empowered yet?

You should.

You've got this!

FAQs

What Should I Do If My Motorcycle Stalls on a Hill?

If your motorcycle stalls on a hill, don't panic. First, ensure you are in a safe position and not in immediate danger from other road users. Engage the rear brake to prevent rolling back. Restart the engine, check your mirrors, signal if necessary, and then go through the steps of starting on a hill again. If you find yourself frequently stalling, you might want to find a quiet area to practice hill starts.

How Can I Practice Hill Starts Safely?

The best place to practice hill starts is in a controlled environment, such as an empty parking lot with an incline. Make sure the area is free of traffic and obstacles. Use cones or other markers to practice stopping and starting on the incline. Remember to always wear your full safety gear, including a helmet, gloves, jacket, and boots, even during practice sessions.

Is There a Specific Gradient That's Ideal for Practicing Hill Starts?

There is no "ideal" gradient, but beginners might find it easier to start with milder slopes before progressing to steeper inclines. Many training areas use slopes of varying gradients to help riders build confidence and skill. Be cautious of extremely steep hills marked by a 10% gradient road sign or higher, especially if you're a new rider.

Can I Use the Front Brake Instead of the Rear Brake for Hill Starts?

While it's technically possible to use the front brake, it's generally recommended to use the rear brake when performing a hill start. Using the rear brake allows you to have better control and balance, as your right hand will be free to manage the throttle and clutch. It aligns with the best practices used in module 2 riding tests and is widely taught in motorcycle training programs.

Get in Touch 🚀

 Loved our article on “How to Start A Motorcycle on a Hill” Got the itch to dive into more wheely-awesome info?

Whether you're a parent or a grandparent, we're here for all your kids ride-on toy questions! 🚗💨

Feeling click-happy?

Jump straight into our wonderland at RiiRoo.com.

Or, if you're more the chatty type, give our Live Chat a whirl and let's talk toys!

Previous article Advanced E-Scooter Riding Techniques for Efficiency and Safety

Compare products

{"one"=>"Select 2 or 3 items to compare", "other"=>"{{ count }} of 3 items selected"}

Select first item to compare

Select second item to compare

Select third item to compare

Compare