


Updated: 14.4.25

Dirt biking isn’t just a hobby—it’s a way of life. For passionate riders, a dirt bike helmet isn’t just gear; it’s part of their identity. But after a muddy, adrenaline-fueled adventure, your helmet deserves a proper clean.
So how do you clean it without causing damage?
This guide will walk you through a safe and effective cleaning routine that keeps your helmet fresh and ready for the next ride.
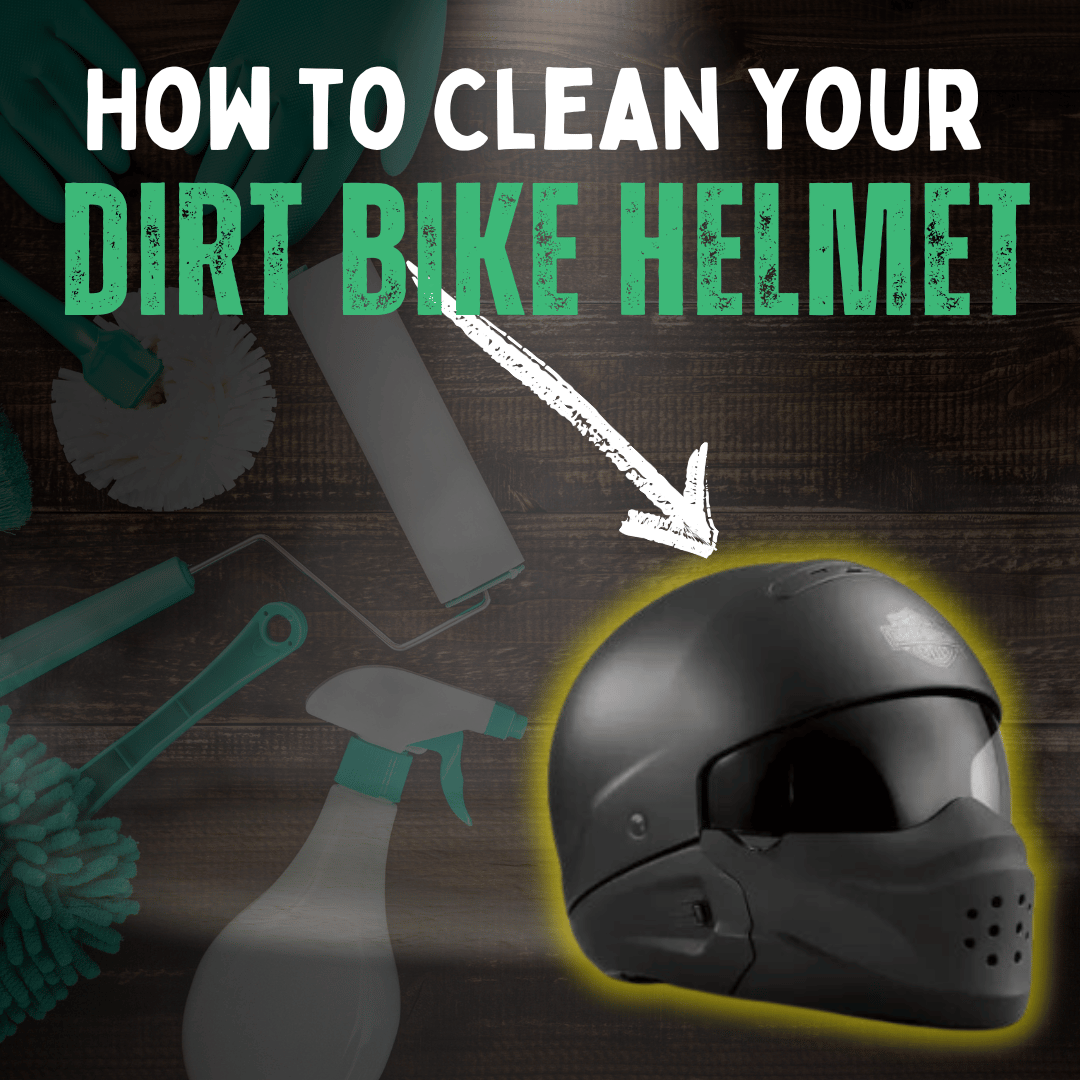
How to Clean Your Dirt Bike Helmet
Start by wiping off dirt with a damp cloth and detergent. If the inner pads are non-removable, wash the entire helmet. Rinse thoroughly inside and out with warm water, or fully submerge it in a basin or bathtub for deep cleaning.
1. Preparing Your Helmet for Cleaning
Removing the Helmet's Visor
Detach the visor if your helmet has one, and clean it separately using warm soapy water.
Using Gentle Cleansers
Avoid harsh chemicals. Use baby shampoo or a mild cleanser to protect the inner padding and fabric.
Supplies You’ll Need
- Warm soapy water
- Baby shampoo or gentle cleanser
- Soft-bristled brush
- Microfiber towel
2. Cleaning the Helmet’s Exterior
Wipe the Surface
Use a microfiber towel and warm soapy water to gently wipe the exterior and avoid scratches.
Scrub the Vents
Use a soft-bristled brush to clean dirt from vents and hard-to-reach areas.
Rinse Thoroughly
Rinse with warm water to remove all soap and debris.
3. Cleaning the Interior
Wash Removable Liners and Pads
Remove pads and liners. Hand wash with warm soapy water using gentle pressure.
Rinse and Air Dry
Rinse thoroughly and let the components air dry in a well-ventilated space away from direct sunlight.
Clean the Interior Shell
Wipe the inside of the helmet using a microfiber cloth dipped in mild soapy water.
4. Reassembly and Drying Tips
Ensure Complete Dryness
Make sure all parts are fully dry before reassembly to avoid mold or odors.
Reassemble with Care
Fit liners, pads, and the visor back into place carefully, ensuring a secure fit.

5. Pro Tips
- Avoid hot water – It can damage glue and padding.
- Skip the washing machine – Always hand wash for best results.
- Store it properly – A cool, dry place keeps your helmet in top condition.
6. Choosing the Right Cleaning Materials
- Microfiber Towels – Prevent scratches while wiping.
- Soft-Bristled Brushes – Great for vents and crevices.
- Baby Shampoo – Gentle and effective for inner liners.
7. Troubleshooting Common Issues
- Stubborn Stains: Try white vinegar mixed with warm water.
- Scratches: Avoid abrasive cloths and wipe gently.
- Bug or Mud Residue: Soak longer or use helmet-specific cleaners.
8. Helmet Wax & Protection
To protect and preserve your helmet, consider applying a helmet-safe wax.
- Use natural carnauba wax for glossy finishes.
- Choose matte-finish wax for matte helmets.
- Use helmet cleaners with UV protection to prevent fading.
- Spray streak-free cleaner on visors using a microfiber cloth.
Conclusion
By following these steps, you can keep your dirt bike helmet clean, functional, and ready for action. It’s a small investment of time that makes a big difference in safety and comfort.
Additional Links:
Frequently Asked Questions
How often should I clean my dirt bike helmet?
Clean it before and after every ride to remove sweat, dirt, and odours.
Can I use a washing machine to clean the pads?
Yes, but only on a delicate cycle with mild detergent. Hand washing is safer.
What should I avoid during cleaning?
Avoid hot water, harsh chemicals, and abrasive cloths or brushes.
How do I dry the helmet?
Let all components air dry in a shaded, ventilated area. Avoid sunlight or dryers.
Can I use wax on my helmet?
Yes. Use helmet-safe wax to protect and enhance the surface and visor.
Get in Touch 🚀
Loved this guide? Explore more tips, gear, and expert advice.
Visit RiiRoo.com or hit us up on Live Chat for help with kids ride-on toys and accessories.


Share:
How to Clean Your Dirt Bike Air Filter at Home in 2025
How To Ride A Dirt Bike With A Clutch (FOR BEGINNERS)