Updated: 16.05.25
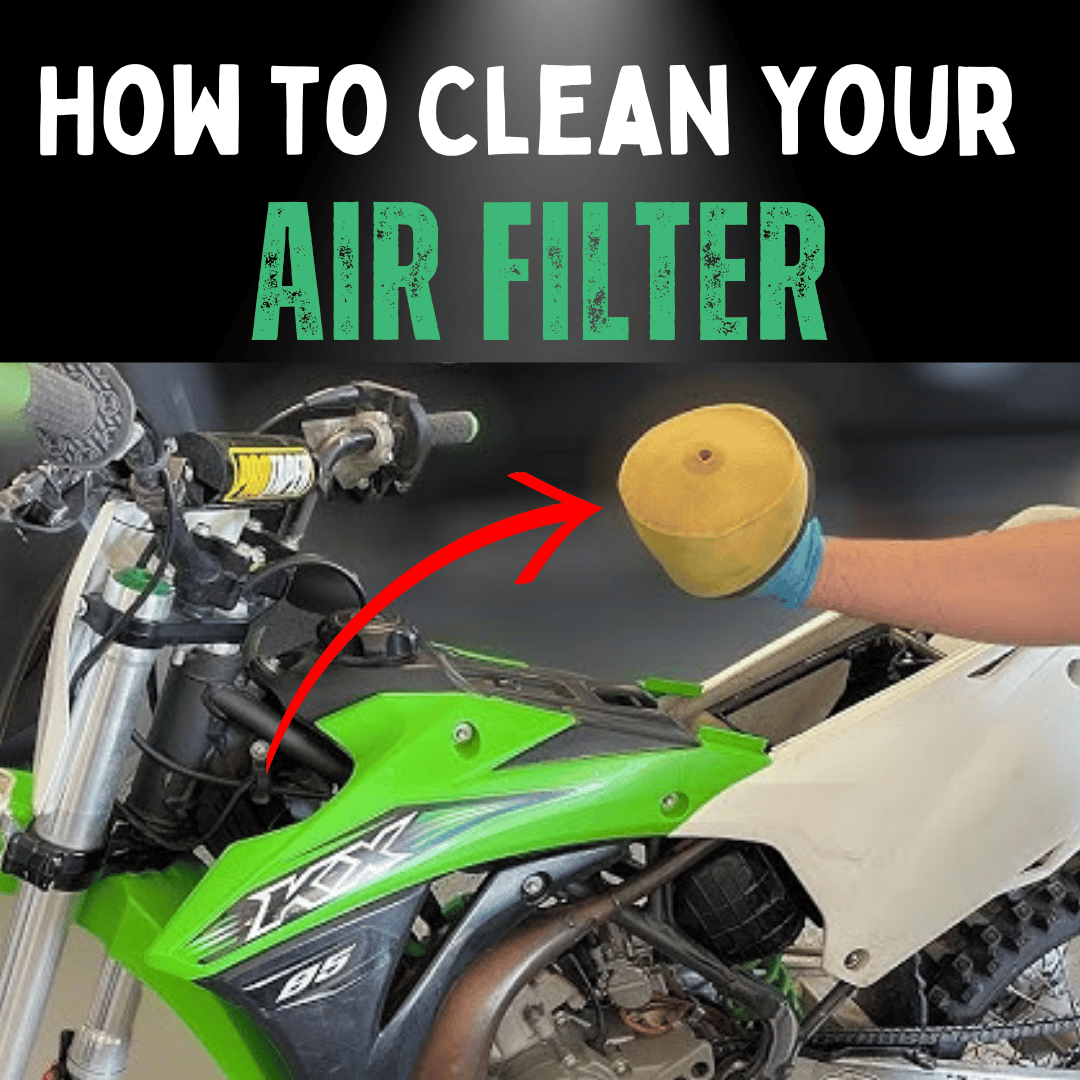
Motorcycling is a thrill, but it’s also a responsibility. A clean air filter keeps your motorcycle, dirt bike, or motocross bike running at peak performance, saving fuel and protecting the engine. This guide shows you how to find and clean your motorcycle air filter at home, with tips for all filter types and the best cleaning products.
1. Why Clean Your Motorcycle Air Filter?
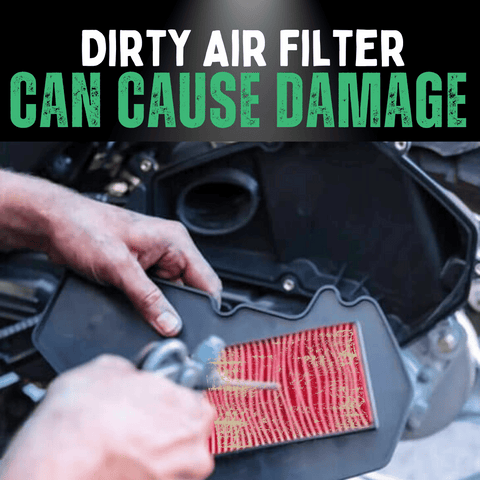
A clogged air filter restricts airflow, reducing power, increasing fuel consumption, and risking engine wear. Regular cleaning ensures smooth rides, whether you’re on city streets, off-road trails, or motocross tracks. It’s like giving your bike a fresh breath to power every adventure.
Related: Critical Ways a Dirty Air Filter Damages Your Motorbike’s Engine
2. Types of Motorcycle Air Filters
Choosing the right air filter depends on your bike and riding style. Here’s a breakdown:
| Filter Type | Key Features | Best For |
|---|---|---|
| Paper Filters | Budget-friendly, effective at blocking debris, often disposable | Street bikes, budget riders |
| Foam Filters | Reusable, traps dirt in dusty conditions, requires oiling | Dirt bikes, motocross, off-road |
| Cotton (Oiled Gauze) Filters | High airflow, reusable, needs regular cleaning | Sport bikes, performance riders |
Related: How to Clean a Dirt Bike Air Filter
3. Finding Your Motorcycle Air Filter
Before cleaning, locate the airbox. Check your bike’s manual for specifics, but most air filters are under the fuel tank, behind side fairings, or beneath the seat. Look for a compartment secured with clips or screws. For dirt bikes, the airbox is often near the rear wheel. Open carefully to avoid dropping debris into the intake.
4. Step-by-Step Guide to Cleaning Your Motorcycle Air Filter
- Remove the Filter: Turn off the bike and stabilise it. Open the airbox (under tank, fairings, or seat) using your manual’s guidance. Remove clips or screws and gently extract the filter, covering the airbox to prevent debris entry.
- Tap and Brush: Tap the filter over a bin to dislodge loose dirt. Use a soft brush (e.g., toothbrush) to sweep away stubborn debris, brushing away from your face.
- Initial Rinse: Rinse with lukewarm water from the clean side to the dirty side to flush grime. Rotate for thorough cleaning.
- Soap the Filter: Soak in a basin with mild dish soap or filter-specific cleaner (e.g., K&N Cleaner, Maxima). Gently massage to remove grease, avoiding harsh scrubbing.
- Final Rinse: Rinse from the clean side until water runs clear, ensuring no soap remains.
- Dry Completely: Air dry on a clean towel in a ventilated area, away from heat sources to prevent damage.
- Oil (if Needed): For foam or cotton filters, apply filter-specific oil (e.g., Bel-Ray, Twin Air) evenly, dabbing off excess. Paper filters don’t require oiling.
- Reinstall: Place the filter back in the airbox, ensuring a tight seal. Secure with clips or screws.
- Clean the Airbox: Wipe the airbox with a damp cloth and mild soap to remove dirt. Dry thoroughly before reinstalling the filter.
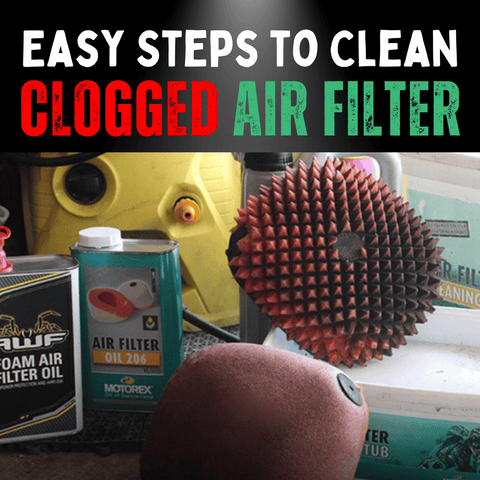
Related: 5 Easy Steps to Clean Your Clogged Air Filter
5. Special Cleaning Tips for Each Filter Type
- Foam Filters: Common in dirt bikes and motocross bikes, soak in dish soap or solvent (e.g., No Toil), rinse thoroughly, and re-oil generously to trap dust.
- Paper Filters: Gently clean with soap and water, avoiding tears. Replace if stained or damaged, as they’re less durable. Ideal for street bikes.
- Cotton Filters: Use filter-specific cleaners (e.g., K&N Cleaner) for deep cleaning, rinse well, and re-oil lightly to maintain airflow. Best for sport bikes.
6. Tools and Cleaning Products
Choose the right tools and cleaners for efficient maintenance:
| Tool/Product | Description | Best Use |
|---|---|---|
| Soft Brush | Toothbrush or paintbrush to remove debris gently. | All filter types |
| Basin | For soaking and washing with soap or cleaner. | All filter types |
| Microfiber Towels | Absorb water during drying, lint-free. | All filter types |
| Mild Dish Soap | Budget-friendly, breaks down grease safely. | Paper, foam, cotton filters |
| K&N Cleaner | Specialised for cotton and foam filters, deep cleaning. | Cotton, foam filters |
| Maxima/No Toil Cleaner | Effective for foam filters, eco-friendly options. | Foam filters (dirt bikes, motocross) |
| Bel-Ray/Twin Air Oil | High-quality oil for re-oiling foam/cotton filters. | Foam, cotton filters |
7. Cleaning and Replacement Schedule
Check your air filter every 3,000–6,000 miles for city riding or monthly for off-road/motocross conditions. Clean when dirty. Replace paper filters every 6–12 months or if damaged; foam and cotton filters can last 1–2 years with proper care. Consult your bike’s manual for specific intervals.
Signs of a Dirty Filter
- Reduced Fuel Efficiency: A clogged filter burns more fuel.
- Engine Misfires or Rough Idling: Blocked airflow disrupts the air-fuel mix.
- Unusual Noises: Hissing or coughing signals restricted air.
- Lower Power: A sluggish bike needs a filter clean.
Related: Signs of a Dirty Engine Air Filter
8. Safety Precautions
- Wear Gloves: Use rubber or nitrile gloves to protect hands from cleaners.
- Use Eye Protection: Safety goggles shield eyes from debris.
- Work in Ventilation: Clean in an open area to avoid inhaling dust or fumes.
- Avoid Slips: Use a tray or mat to catch spills and clean immediately.
9. Benefits of Regular Cleaning
- Peak Performance: Clean air boosts power and responsiveness.
- Fuel Savings: Efficient airflow reduces consumption.
- Engine Longevity: Blocks debris to prevent wear.
- Cost Savings: Avoids repairs and improves efficiency.
- Eco-Friendly: Cleaner combustion reduces emissions.
Related: 25 Game-Changing Motorcycle Hacks
Summary
A clean air filter is essential for your motorcycle’s performance, fuel efficiency, and engine health. This guide covers finding and cleaning paper, foam, or cotton filters at home with dish soap or top cleaners like K&N. Regular maintenance ensures smooth rides and long-term savings. Check out RiiRoo’s motorcycles for your next ride!
Get in Touch 🚀
Loved our guide on cleaning your motorcycle air filter? Find more tips at RiiRoo.com.
Have questions about motorcycle maintenance? Try our Live Chat or browse our motorcycle collection!
Frequently Asked Questions
How do I clean my motorcycle air filter at home?
Soak in mild dish soap or a cleaner like K&N Cleaner, rinse thoroughly, dry completely, and re-oil foam/cotton filters. Follow our guide for details.
Where is the air filter on my motorcycle?
Check your manual; it’s usually under the fuel tank, behind side fairings, or beneath the seat. Dirt bike airboxes are often near the rear wheel.
What are the signs of a dirty motorcycle air filter?
Look for reduced fuel efficiency, engine misfires, rough idling, unusual noises, or lower power.
Can I clean a motorcycle air filter with household items?
Yes, mild dish soap is safe and effective. Avoid vinegar or harsh detergents, which may damage the filter.
Which cleaners are best for motorcycle air filters?
K&N Cleaner, Maxima, No Toil, or Twin Air are top choices for foam/cotton filters. Dish soap works for all types on a budget.


Share:
How to Choose the Right Air Filter for Your Motorcycle
Does Go-Kart Drifting Ruin Your Wheels?