


Updated: 25.4.25
Got a flat tyre?
No worries — we’ve got your back! Changing a dirt bike tyre might sound daunting, but with the right tools, a little patience, and this step-by-step guide, you’ll be back on the trails in no time.
And if it feels too tricky at any point, there's no shame in calling a pro for backup.
Essential Tools You’ll Need

Must-Have Tools:
- Wrench (for Rim Lock): Loosens and secures the rim lock.
- Tyre Irons (Spoons): Essential for bead breaking and tyre removal.
- Air Compressor: For reinflating your new tyre to the correct pressure.
- Replacement Tyre: Ensure it matches your dirt bike's specs.
Helpful Extras:
- Bead Breaker Tool: Makes separating tyre from rim easier.
- Plastic Hammer: Provides gentle force for stubborn parts.
- Soapy Water: Lubricates the tyre for smoother installation.
Pro Tip: Preparation is half the battle — get your workspace organised before you start!
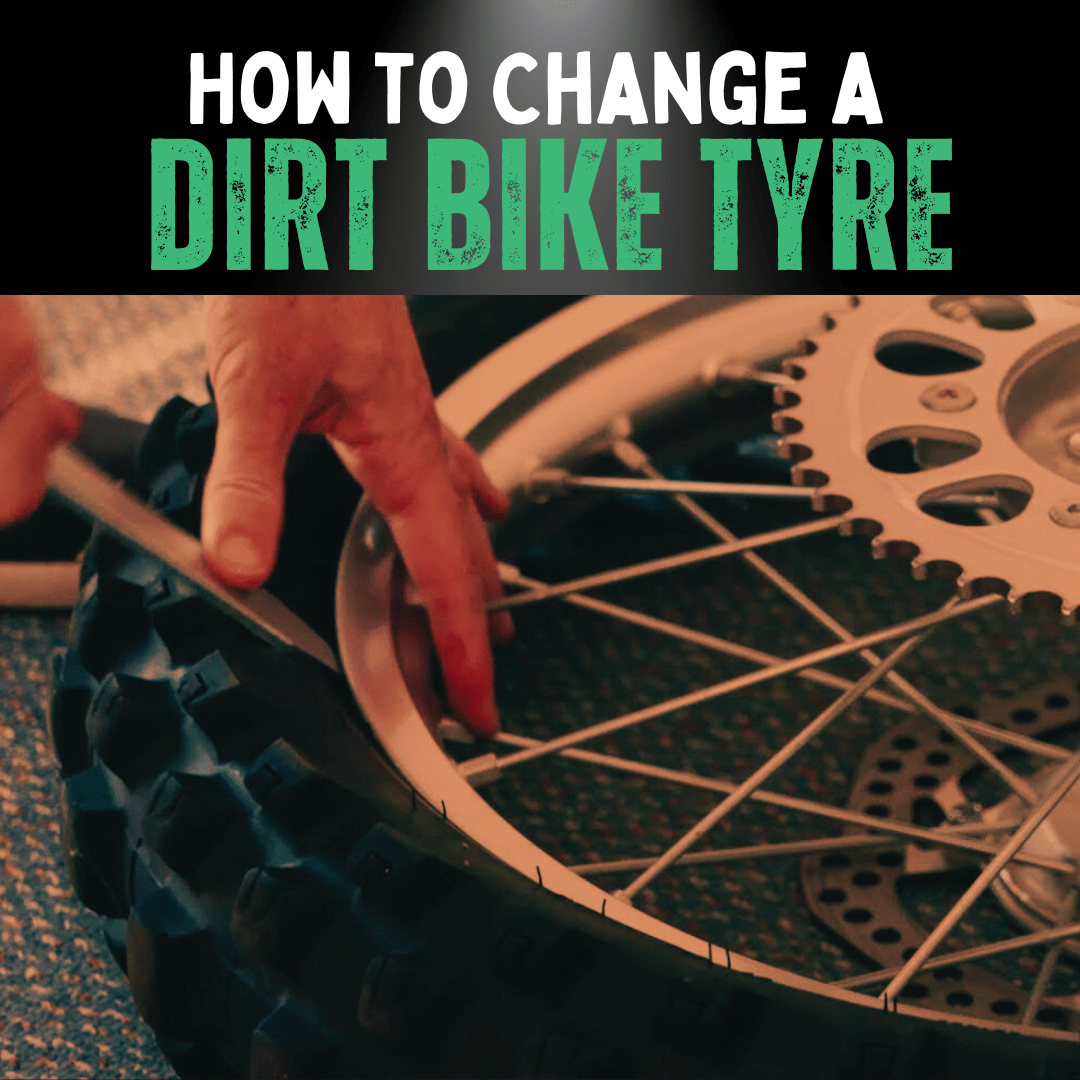
How to Change a Dirt Bike Tyre (7 Simple Steps)
| Step | What to Do |
|---|---|
| 1 | Loosen the rim lock with a wrench. |
| 2 | Remove all air from the tyre (squeeze it flat or remove the valve stem). |
| 3 | Break the bead on both sides using tyre irons. |
| 4 | Remove the tyre from the rim carefully with tyre irons. |
| 5 | Install the new tyre, checking the rotation arrow direction. |
| 6 | Inflate the tyre to the recommended pressure. |
| 7 | Tighten the rim lock securely. |
Common Tyre Changing Issues (and Quick Fixes)

- Struggling to break the bead? Apply extra force or use a bead breaker tool.
- Can't get the tyre off? Push the opposite bead fully into the rim centre.
- Tyre tough to fit? Use soapy water for easier sliding.
- Valve stem issues? Always check for proper alignment when reinstalling.
Safety Tips and Extra Advice

- Wear gloves and safety glasses.
- Work slowly and double-check the tyre rotation direction.
- Use proper leverage tools to minimise effort and avoid damage.
- Inflate carefully and inspect the tyre for seating issues.
- Double-check rim lock security before riding.
Summary: You’ve Got This!
Changing a dirt bike tyre isn't rocket science — it just takes preparation, patience, and a few smart techniques. Whether you're out on the trail or in your garage, knowing how to fix your own flat gives you more freedom and confidence on every adventure.
FAQs
What other tools are handy for tyre changes?
A bead breaker, plastic hammer, and soapy water make the job much easier.
Can you change a dirt bike tyre without tyre spoons?
Yes! Heavy-duty zip ties can work as an alternative if you're patient and careful.
How do I seat the new tyre properly?
Partially inflate the tyre and spin it to check for even seating. Deflate slightly and adjust if needed.
How can I avoid pinching the tube?
Inflate the tube slightly before fitting, and use gentle movements with the tyre irons.
Need More Help? 🚀
Explore RiiRoo.com for more expert riding guides, or jump into our Live Chat to ask your questions directly!


Share:
How Old Do You Have To Be To Ride A Dirt Bike?
The Comprehensive Guide to Kids Motorbikes