


Published: August 22, 2023
Updated: March 26, 2025
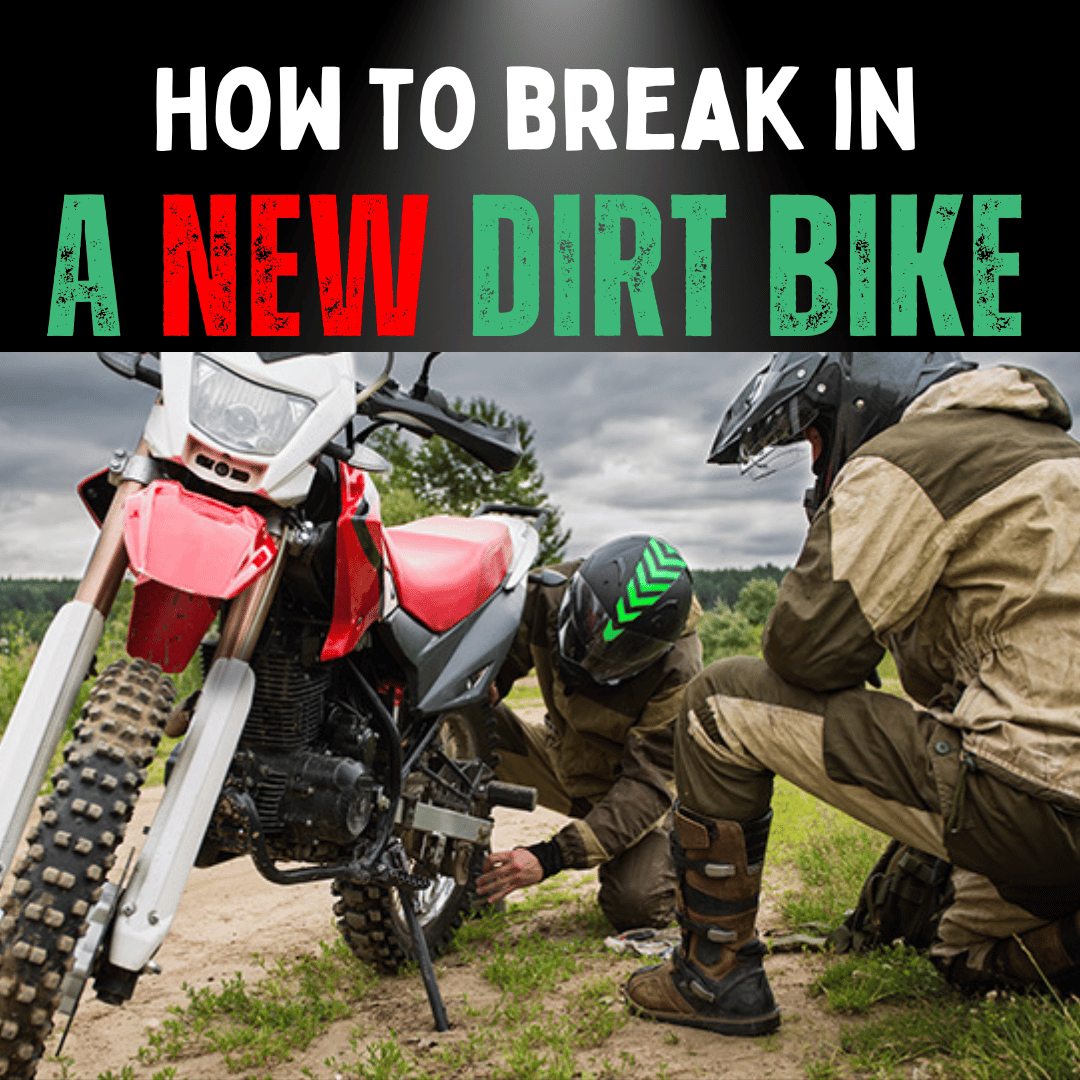
Got a new dirt bike? Before you ride, break it in properly to ensure top performance and longevity.
This 2025 guide shows you how—let’s get started!
Why Break-In Matters
Breaking in your dirt bike helps its engine components settle, ensuring better performance and a longer lifespan.
- Piston Rings: Proper seating ensures a good seal for compression.
- Surface Smoothing: Reduces friction on new parts like camshafts.
- Oil Flow: Establishes consistent lubrication patterns.
- Heat Cycles: Controlled heating/cooling seats gaskets and seals.
How to Break In Your Dirt Bike
1. Initial Idle
Start the engine and let it idle for 10 minutes—like a warm-up. This circulates oil through the engine.

2. Light Riding
Take it easy for the first 500 miles or 10-20 hours—keep speeds low and avoid heavy loads.
3. Vary RPMs
Use different gears and throttle positions to vary RPMs—find the right RPMs. This ensures even wear and heat distribution.

4. Avoid Extreme Conditions
Skip sandy dunes or rocky trails during break-in—stick to flat, even terrain to avoid stressing the engine.

5. Monitor Fluids
Check oil and coolant levels after each ride to ensure the engine runs smoothly.
6. Follow the Manual
Your owner’s manual has model-specific break-in tips—follow it to avoid issues. Starting issues?
Break-In Milestones
- 0-2 Hours: Check oil, tighten bolts, clean chain.
- 5 Hours: Change oil, clean air filter, and check valves.
- 10 Hours: Oil change, adjust chain, lube cables.
- 15 Hours: Oil change, replace air filter, check spokes.
- 20 Hours: Final oil change, replace spark plug, inspect all systems.
Follow these steps to ensure a smooth break-in!
Cooling and Maintenance
Let It Cool
Allow the bike to cool to ambient temperature between rides—like rest between workouts.
Stick to a Schedule
Change oil, check the air filter, and tighten bolts regularly—routine maintenance keeps your bike in top shape.
Environmental Factors
- Cold Weather: Warm up longer, use lighter oil.
- Hot Weather: Monitor temperature, take breaks.
- High Altitude: Adjust fuel mixture, watch for overheating.
- Dusty/Sandy Areas: Clean air filter often, lube chain.
Conclusion
Breaking in your new dirt bike sets the stage for its performance and durability.
Follow these steps, and you’ll be ready for thrilling rides in 2025!
FAQs
When is the break-in period complete?
After 500-1,000 miles or 10-20 hours—check your manual for specifics.
What are the risks of skipping break-in?
Premature engine wear or failure—proper break-in ensures longevity.
Can I race right after break-in?
No, ease into regular riding first before competitive events.
What maintenance is needed post-break-in?
Change oil at 50-100 miles, then after break-in, and inspect bolts and spokes.
Ready to Ride? 🚀
Loved “How to Break in a New Dirt Bike Properly?” Want more bike tips?
Visit RiiRoo.com or chat live with us for ride-on fun!


Share:
Do They Still Make 2 Stroke Dirt Bikes Today? (Answered)
Why Do Dirt Bike Helmets Have Visors?