


How to Change the Oil and Oil Filter on Your Motorbike or Quad Bike
Updated: 14.4.25
Ever wondered what the secret is to keeping your motorbike or quad bike running like a dream?
Regular maintenance is the answer — and it goes far beyond giving your ride a quick wash. One of the most important tasks is routinely changing the oil and oil filter.

As outlined in our quad bike maintenance guide, proper upkeep can extend your vehicle's life and performance. But it’s not just for adults — if you're teaching teens about bike care, this teen maintenance guide is a must-read.
Remember to always work on a flat, stable surface, and wear gloves and protective eyewear while performing maintenance.
Before jumping in, check out why regular oil changes are crucial for your quad’s long-term health.
Step 1 – Gather the Right Tools and Supplies
Make sure you have everything ready before you begin:
- Fresh oil (type specified in your owner's manual)
- New oil filter
- Filter wrench
- Socket and box wrench set
- Drain pan
- Funnel and clean rags
- Nitrile gloves
- Optional: motorcycle lift, torque wrench, and a new drain plug gasket
Related: How Often Should You Change Your Kid's Quad Bike Oil?
Step 2 – Warm Up the Engine
Run the engine for 5–10 minutes to warm up the oil — this makes it drain more easily. Turn off the engine and allow it to cool slightly before continuing.
Related: Should You Run With the Choke Open or Closed?
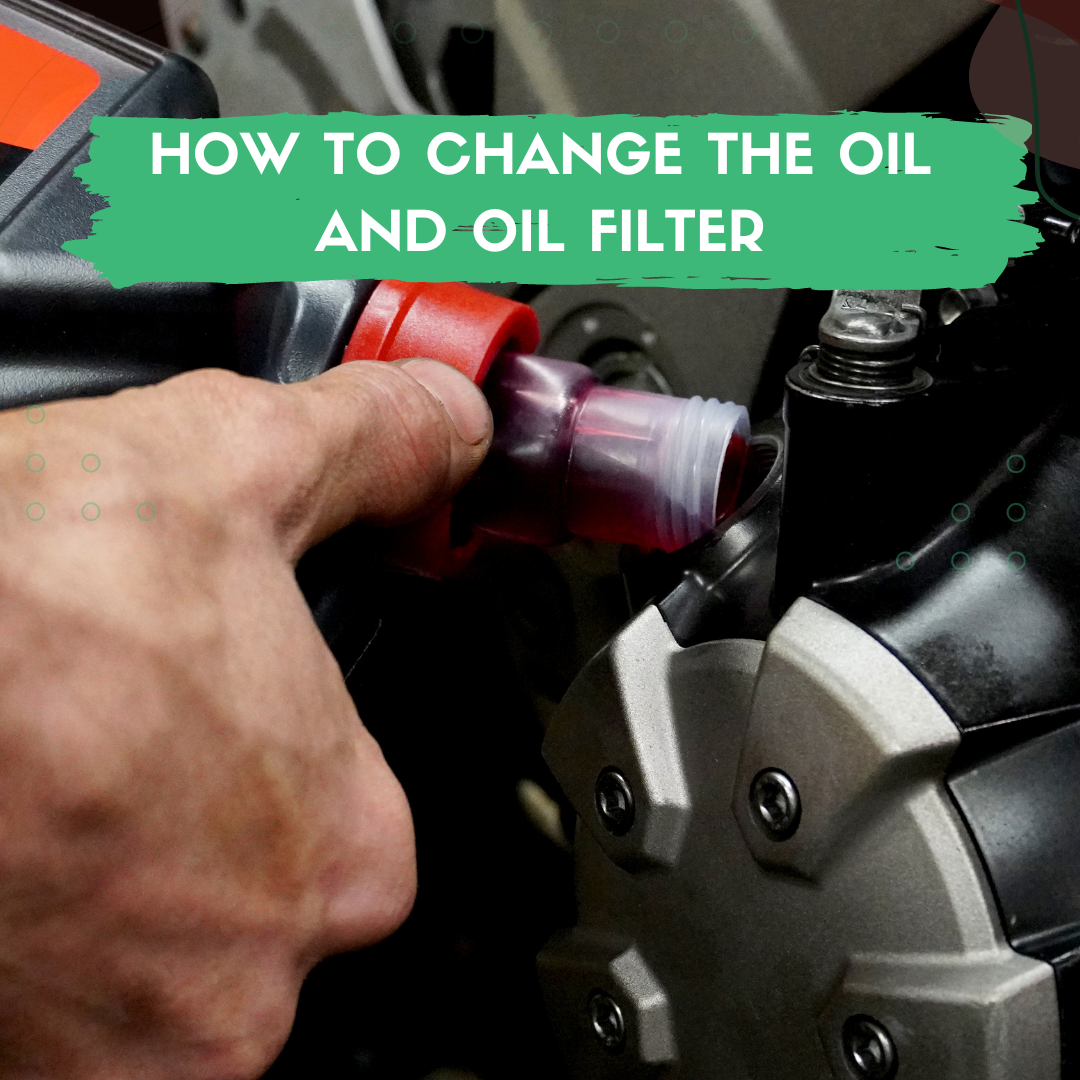
Step 3 – Locate and Remove the Oil Filter
Use your wrench to carefully remove the oil filter. Be cautious — it may still be warm from the engine.
Not sure where to find it? The oil filter is usually on the side of the engine, while the drain plug is underneath.
Step 4 – Drain the Old Oil
Place your drain pan under the oil plug and remove the plug slowly to release the old oil. Let it fully drain.
Take your time — this ensures every drop is out before you add new oil.
Related: How To Tell When Your Quad Needs an Oil Change
Step 5 – Replace the Oil Filter
Prepare the new filter by adding a bit of fresh oil inside and lubricating the rubber seal.
Gently screw it into place by hand — avoid cross-threading. Tighten snugly, but don’t overtighten.
Step 6 – Add Fresh Oil
Use a funnel to pour in fresh oil. Refer to your manual for the exact quantity and type required.
After filling, use a dipstick to verify the correct level — then secure the oil cap.
Step 7 – Dispose of Used Oil Responsibly
Never pour oil down the drain or in the bin. Here’s how to dispose of it properly in the UK:
- Take used oil to a recycling centre or oil bank: www.oilbankline.org.uk
- Call 03708 506 506 to find your nearest facility
- Used filters should be bagged and taken to a local auto shop or recycling centre
In Summary
By following this guide, you’ll not only change your bike’s oil correctly but also help extend its lifespan and performance.
After completing the change, start the engine, check for leaks, and ensure everything sounds and runs smoothly.
Want to go further? Explore our guides on:


Share:
Why Is Go Karting Good For You in 2025?
What is The Maximum Height for Go Karting in 2025?