


Published: 10.2.20
Updated: 17.7.24
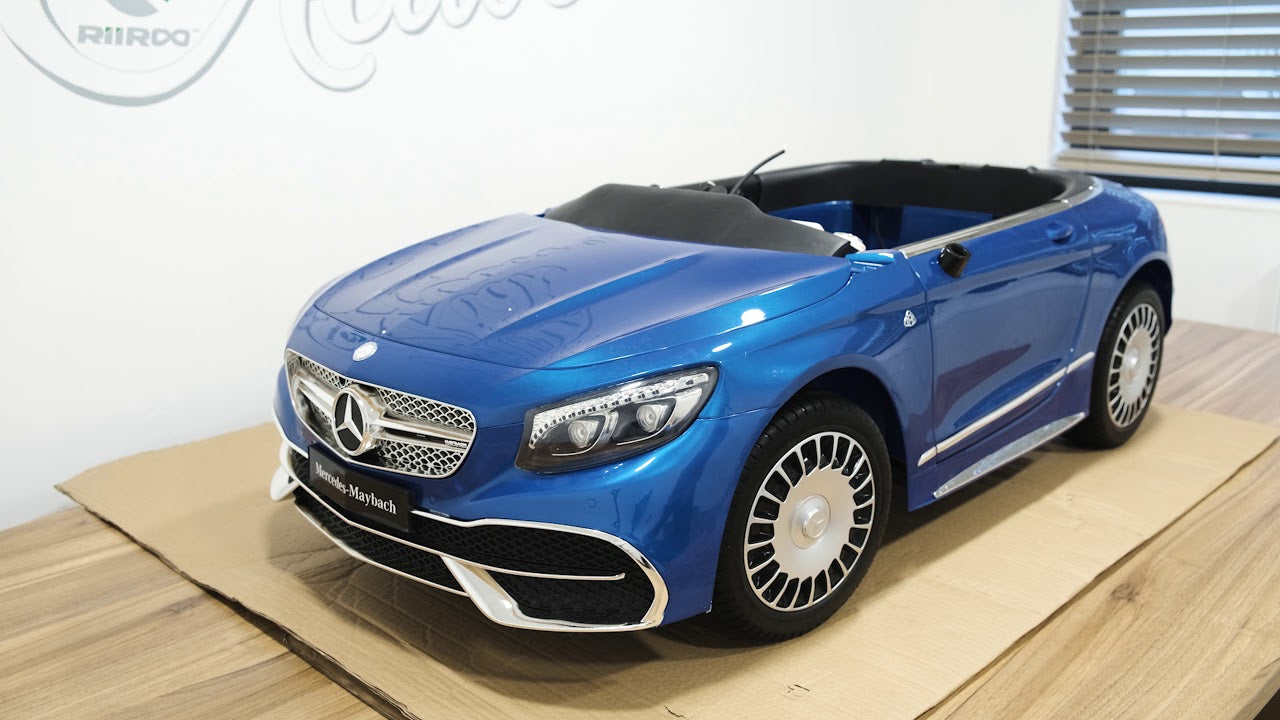
If you are reading this guide, you have likely just purchased your ride on car from us or another company.
If this is the case you’ve come to the right place. We should be able to get you up and running in no time at all.
This is a generic guide and is only for informational guidance. Where possible, always follow the instructions your toy came with.
1. Box Contents Check
- Check Immediately: Open the box and verify all items are present.
-
Inspect for Damage: Look for any damage to the panels or parts.
- If Damaged: Take photos and contact the company immediately.
- Report Missing Items: Email the company if any items are missing.
- Time for Replacements: Note that it can take up to 2 weeks for replacements.
Note: Most items are checked before leaving the depot. Damage is likely to occur during transit.
2. Safety Information
Important Safety Warnings:
- Before Assembly: Disconnect the battery before starting.
- During Assembly: Keep small parts away from children to avoid choking hazards.
- After Assembly: Ensure all connections are secure and parts are properly attached.
3. Assembly Instructions
General Assembly
- Prepare Your Space: Lay out all parts on a large table or the floor.
-
Follow Instructions: Use the instruction booklet provided with the toy.
- Videos Available: Check out our assembly videos for additional help.
- Ensure Pins are Present: Verify all pins needed for the axel are included.
Steering Wheel & Column
- Common Issue: Misalignment during assembly.
-
Steps:
- Align the steering column properly.
- Push it all the way through before connecting wires to avoid snapping.
Steering Motor Issues
- Video Tutorial: Watch the steering motor fix if you encounter issues.
Door Latch Fix
- Remove Screws: Take out screws holding the door card.
- Locate Spring: Find and compress the spring back onto the latch mechanism.
- Reattach Door Card: Replace the screws.
Fixing A Loose Ride On Car Door Latch
- Begin by removing the screws holding the door card to the door (not all screws need to be removed).
- Locate the spring that has fallen in the door.
- Compress spring back onto the latch mechanism.
- Replace the screws holding the door card to the door.
4. Charging Instructions
Use Only the Provided Charger: Chargers are specifically designed for the toy's voltage.
Battery Maintenance
- Connection: Batteries are shipped disconnected. Connect the wires (red to red, black to black).
- Initial Charge: Fully charge the battery for the recommended hours before first use.
- Regular Charging: Charge after each use and every three weeks if not in use.
Charging Times
- 6V Toys: Initial charge 10 hours, regular charge 6 hours.
- 12V Toys: Initial charge 10-12 hours, regular charge 6-8 hours.
- 24V Toys: Initial charge 10-12 hours, regular charge 6-8 hours.
Battery Maintenance
In most cases, if you have purchased an electric kids toy, the battery will be shipped disconnected. This is to ensure safety in transit. For that reason, the wire and terminals will need to be connected.
Note: Only match the right coloured wires together (i.e. red to red and black to black).
Once you have received your item, please make sure that the item is fully charged for the recommended amount of hours stated on the manual before its first use. We also suggest giving the item a full charge after each use.
If the item is not being used for a long period or is being put away, we advise you to charge it every three weeks (even if it was fully charged before it was put away) or disconnect the battery as this could damage the battery. The battery is not under warranty.
If you are unsure of anything written here, please refer back to the instructions in the leaflet that was provided with the toy.
How long does it take to charge a toy/toy car?
As you can appreciate, there is a variety of different ride toys/cars available and each one varies regarding the charging times. Before you do anything, always check the pamphlet, instructions or manual before charging your new toy. We can give you generic instructions in this article, however, the instructions the toy came with will be most accurate.
It all depends on the type of battery and the size of the voltage. The first time charge is the most important one and must be done correctly, otherwise, you could potentially damage the battery.
Ride On Toy Charging Time Summary:
- 6v Powered Toys: Initial charge 10 hours. Regular charge approximately 6 hours.
- 12v Powered Toys: Initial charge 10-12 hours. Regular charge approximately 6-8 hours.
- 24v Powered Toys: Initial charge 10-12 hours. Regular charge approximately 6-8 hours.
Troubleshooting
My toy isn’t switching on?
Check the battery terminals are connected properly and are a tight fit. Loose terminal connections are a major problems with toys not turning on.
The remote control won’t pair. What can I do?
Safety Checklist
Before first use, ensure the following:
| Safety Check | Details |
|---|---|
| K All Parts are Securely Attached |
|
Detailed Assembly Check:
|
|
| A Battery is Properly Connected and Charged |
|
Detailed Battery Safety Instructions:
|
|
| K No Loose Connections or Parts |
|
Comprehensive Connection Check:
|
|
| A All Safety Precautions in the Guide are Followed |
|
Critical Safety Measures:
|
|
| K Final Inspection |
|
Final Inspection Checklist:
|
|
| A User Manual Reference |
|
Important Manual Sections:
|
|
By completing this safety checklist, you will help ensure that your child's new electric toy car is safe and ready for use. Enjoy a fun and secure playtime!
Alternatively, you can download a checklist - Electric Toy Car Safety Checklist
Get in Touch 🚀
Loved our article on “Childrens Electric Toy Car Assembly Guide” Got the itch to dive into more wheely-awesome info?
Whether you're a parent or a grandparent, we're here for all your kids ride-on toy questions! 🚗💨
Feeling click-happy?
Jump straight into our wonderland at RiiRoo.com.
Or, if you're more the chatty type, give our Live Chat a whirl and let's talk toys!


Share:
What is the Difference Between A Licensed and An Unlicensed Ride On Car?
What Accessories Can I Buy For My Ride On Toy?
2 comments
Hi Cheryl, please contact us at hello@riiroo.com and we should be able to help. Thank you.
I’ve lost the manual an can’t remember which wire connect too each coloured wire as battery won’t start an we’ve had it on charge