


Published: October 5, 2023
Updated: March 26, 2025
Riding a motorcycle is thrilling, but safety is key—mastering braking can make all the difference.
Here are 10 essential techniques for safer rides in 2025 to improve bike control.
Why Braking Matters
Proper braking prevents accidents, ensures smoother rides, and reduces wear on your bike. It’s a critical skill for every rider.
10 Essential Motorcycle Braking Techniques
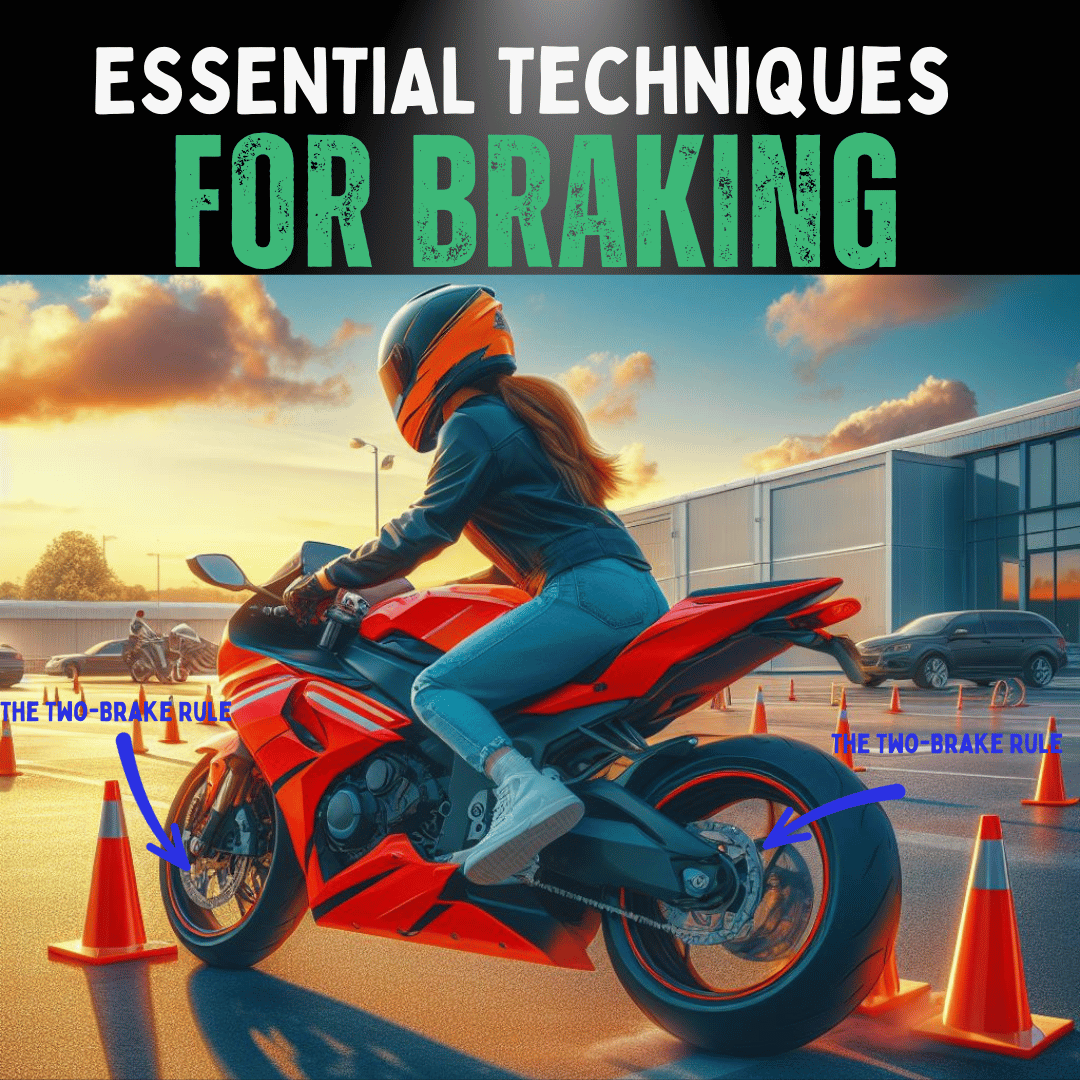
- Two-Brake Rule: Use 70% front, 30% rear for controlled stops—brake tips.
- Front Brake Mastery: Squeeze gently with two fingers for smooth stops.
- Rear Brake Use: Press lightly with your toe to avoid skids.
- Synchronised Braking: Apply both brakes evenly while upright.
- Engine Braking: Downshift and release the clutch for controlled deceleration—gear shifting guide.
- Practice Regularly: Rehearse in a safe area to build skills—beginner safety guide.
- Body Dynamics: Lean forward slightly to increase front tyre traction—responsible riding tips.
- Emergency Braking Drills: Practice in a safe space to prepare for sudden stops—body position tips.
- Leverage ABS: Use ABS to prevent wheel lock-ups during emergency stops.
- Stay Updated: Keep learning new braking techniques through forums and workshops.
Master these for safer, smoother rides!
Brake Maintenance
- Check Brake Pads: Replace them if they are worn to 2mm or less—inspect every 20,000 miles.
- Monitor Brake Fluid: Ensure it’s clear and at the right level; change if murky.
- Inspect Brake Lines: Look for wear, damage, or leaks.
Braking in Different Conditions
- Rain: Brake gently, increase following distance, and avoid puddles.
- Snow/Ice: Slow down, use engine braking, and avoid sudden moves.
- Heat: Watch for brake fade, check tyre pressure, and brake smoothly.
Conclusion
Mastering motorcycle braking in 2025 is about safety and skill—from using both brakes to practicing emergency stops.
Stay sharp, maintain your bike, and enjoy the ride safely!
FAQs
Why do motorcycles have two brakes?
Front and rear brakes offer better control and stability, adapting to different situations.
How often should I inspect brake pads?
Every 20,000 miles, or more often in harsh conditions—replace at 2mm thickness.
Are there special braking techniques for wet conditions?
Yes, brake gradually, increase following distance, and be cautious to avoid skids.
Can ABS make me a less attentive rider?
ABS adds safety but shouldn’t replace good habits—stay vigilant and practice proper techniques.
Ready to Ride? 🚀
Loved “10 Essential Techniques for Proper Motorcycle Braking?” Want more riding tips?
Visit RiiRoo.com or chat live with us for ride-on fun!


Share:
10 CRUCIAL Tips on How to Be Seen on a Motorcycle
Tips for Deciding Which Motorcycle Brake to Use