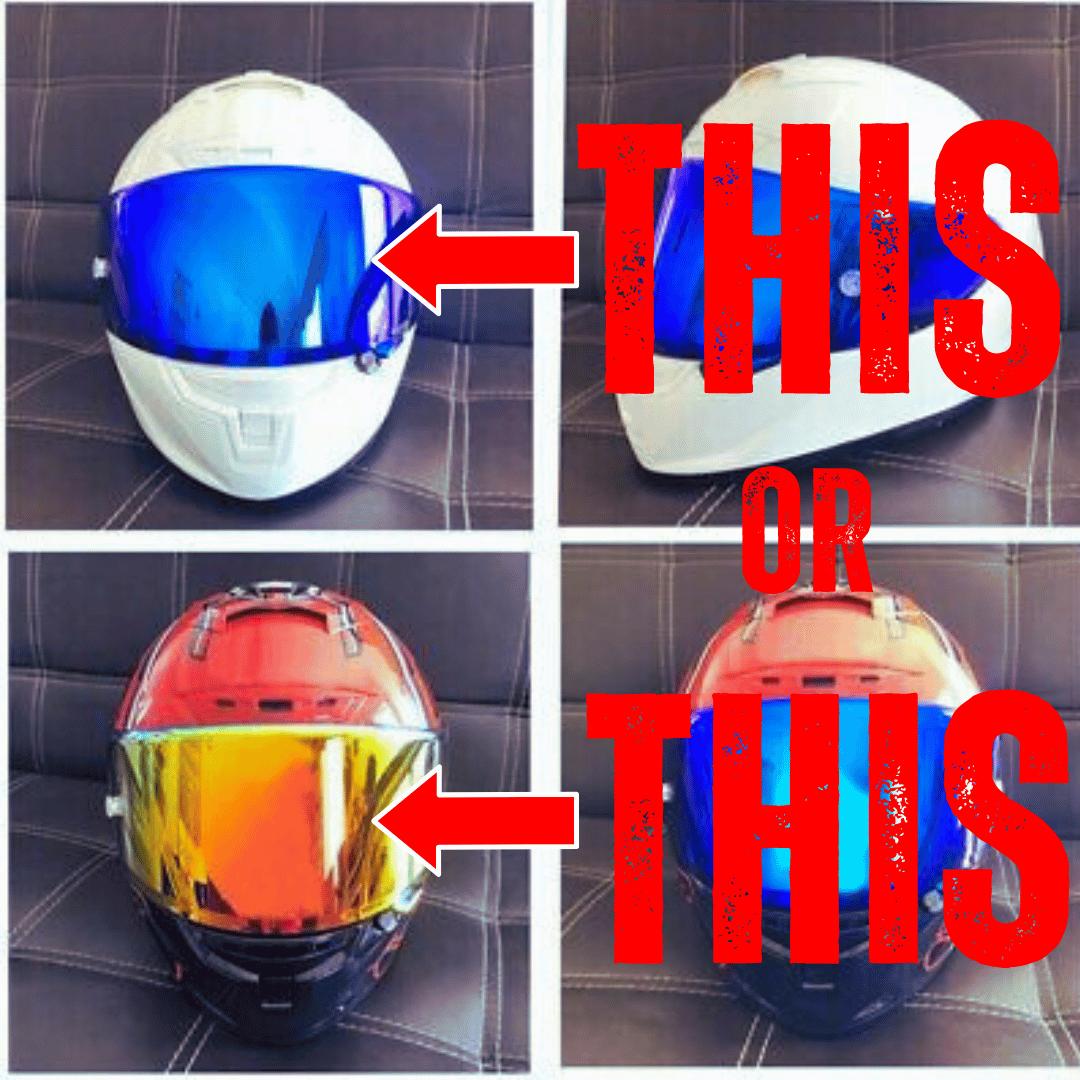
SIMPLE Steps to the Ultimate Motorcycle Visor Upgrade

So, you've got your motorcycle, the open road, and a sense of adventure.

What could possibly go wrong?

Well, if you've ever had a foggy or scratched visor, you'll know it's not just annoying; it can be downright dangerous.

A crystal-clear visor is your window to the world when you're on two wheels.

It affects your safety, your comfort, and even the joy you get from riding.

So why settle for a visor that's not up to scratch when you can easily upgrade it yourself?

In this guide, we’ll delve into 8 simple steps to give your motorcycle visor the ultimate makeover.

Ready to ride smarter and safer?

Let’s get started!

Summary of the Steps to the Ultimate Motorcycle Visor Upgrade

Step Description Short Explanation
1 Anti-Fog Coating Prevents visor fogging.
2 Rain Repellent Spray Improves visibility in rain.
3 Pinlock System Creates a thermal barrier against fog.
4 Shaving Cream Hack Another method to combat fogging.
5 Keep the Visor Clean Removes dirt and oils affecting visibility.
6 Helmet with Drop-Down Sun Visor Offers glare reduction.
7 Helmet with a Peak Provides sun-blocking capabilities.
8 Protection Film Coating Improves scratch resistance.

Tools You'll Need for These Upgrades

List of Tools

To successfully carry out these upgrades, you'll need a few basic tools:

  1. Soft microfibre cloth.
  2. Mild detergent or anti-fog spray.
  3. Spray bottle for water or solution.
  4. Small squeegee or credit card (for protection film application).
  5. Shaving foam or shaving cream.
  6. Disposable gloves.
  7. Lint-free cloth.

By equipping yourself with these tools, you're preparing to tackle fogging, condensation, and visibility issues that can be a real nuisance when riding.

Where to Buy Them

Most of these tools can be found in your local hardware store, pharmacy (for shaving foam and gloves), or online marketplaces like Amazon.

However, for specialised items like squeegees suited for film application, automotive shops are your best bet.

Step 1: Anti-Fog Coating

Why You Need Anti-Fog Coating

Ever found yourself cursing under your breath because your visor fogged up at the worst moment?

Anti-fog coating is the game changer you didn't know you needed.

This simple upgrade can prevent those misty moments that obscure your vision and put you at risk.

How to Apply It

Nothing's more bothersome than a visor that steams up during your ride.

The anti-fog coating offers a solution to keep your helmet's visor steam-free.

To apply the anti-fog coating, first, clean the visor with a mild detergent.

Then spray or apply the anti-fog solution directly onto the visor. Use a soft microfibre cloth to spread it evenly.

Top Picks

Various brands offer excellent anti-fog solutions, so choosing one is a matter of personal preference.

Some top picks include FogTech, Muc-Off, and Cat Crap (yes, you read that right!).

Step 2: Rain Repellent Spray

Why Rain Repellent Spray Matters

Applying a rain repellent spray to the visor is like fitting your motorcycle helmet with a water-repellent shield.

This can dramatically improve visibility during rainy rides.

After cleaning the visor, apply the chemical spray according to the manufacturer's instructions.

It's a straightforward way to make rainy rides less of a bother.

Application Made Easy

Spray it generously on the outside of your visor and then wipe it evenly with a cloth.

Make sure you let it dry completely before hitting the road.

Recommended Products

Rain-X and Nano Coating are trusted names in this department.

Their sprays are effective and long-lasting, giving you one less thing to worry about when clouds gather.

Step 3: Install a Pinlock System

Understanding Pinlock Systems

The Pinlock system uses a plastic insert that attaches to the inside of your motorcycle helmet's visor.

This insert creates a thermal barrier that can prevent condensation and fogging.

It's one of the most effective ways to keep your visor clear.

Installation Guide

Installing a Pinlock system is a bit technical but very doable. You'll need to remove your visor and carefully install the Pinlock insert.

Follow the manufacturer’s guidelines for a perfect fit.

Buying Guide

Pinlock offers various options tailored to different helmet brands.

Make sure to pick one that’s compatible with your specific helmet.

Step 4: Shaving Cream Hack

Why Shaving Cream?

Why not use a classic trick to keep things fog-free? Apply a thin layer of shaving foam or cream to the visor.

Allow it to dry and then wipe it off using a lint-free cloth.

If you wear glasses during your ride, this trick can be a double win for you.

Not only will it help keep your visor anti-fog, but you might also find it easier to breathe without causing hot air to fog up your eyewear.

The Simple Process

Clean your visor, apply a thin layer of shaving cream, let it dry, and then wipe it off.

You’ll be amazed at how effective this can be!

Any Downsides?

The only downside might be the need for more frequent applications compared to specialised products.

But hey, in a pinch, it does the job!

Step 5: Keep the Visor Clean

Why Regular Cleaning Is Crucial

Keeping your visor clean isn't just about aesthetics; it's also about safety and comfort.

Over time, dirt, oils, and moisture can accumulate on the visor, contributing to condensation and poor visibility.

Therefore, it's important to regularly exhale a bit of effort into cleaning your visor with a soft cloth and mild detergent.

A clean visor can help you inhale confidence during your rides.

Related: Why Do Dirt Bike Helmets Have Visors?

Cleaning Tips

Use a soft cloth and gentle detergent to wipe off dirt, bugs, and road grime.

For the love of clear vision, avoid abrasive materials that could scratch your visor!

Step 6: Use a Helmet with a Drop-Down Sun Visor

Use a Helmet with a Drop-Down Sun Visor

The Advantages

It's like having built-in sunglasses for your helmet! Drop-down sun visors provide an extra layer of comfort and protection from glaring sunlight.

What to Look For

Ensure that the helmet you choose has a UV-protected drop-down visor for maximum eye protection.

Step 7: Use a Helmet with a Peak

What Is a Helmet Peak?

A helmet peak or visor extension is a valuable addition if you're riding in sunny conditions.

It helps block direct sunlight and can significantly reduce glare, adding an extra layer of safety to your motorcycle helmet.

To install, usually, you just need to affix the plastic peak onto your existing helmet.

With a peak, you can look forward to sun-soaked rides without the glare being a nuisance.

Installation Tips

Most peaks snap on easily, and some helmets even come with a peak included.

Just follow the manufacturer’s instructions for a seamless fit.

Step 8: Protection Film Coating

Why You Should Consider This

For the long-term durability of your motorcycle helmet visor, consider applying a protective film coating.

This plastic layer enhances the visor’s resistance to scratches and makes it easier to clean.

Follow the application steps and use a squeegee or credit card to smooth out any bubbles.

Application Steps

Just like applying a screen protector to your smartphone, you'll need to clean the visor thoroughly, peel off the film's backing, and carefully apply it to the visor.

Product Suggestions

3M and XPEL make some quality protection films that are easy to apply and do an excellent job of guarding your visor against wear and tear.

Related: Motorcycle Safety Tips - Visor vs Goggles

Common Mistakes to Avoid

New: Wrong Products

It's easy to grab whatever cleaner or spray you have around the house, but remember: your visor isn't a kitchen counter.

Make sure to use only products designed for visor maintenance to avoid damaging the material.

New: Overapplication

Less is more when it comes to applying sprays and coatings.

Overapplying can result in streaks or residues that defeat the purpose of upgrading your visor in the first place.

New: Neglecting Regular Maintenance

Upgrades are great, but they're not a substitute for regular cleaning and maintenance.

Don’t neglect the basics!

Conclusion

We've walked you through eight simple steps to upgrade your motorcycle helmet's visor, tackling issues like fogging, condensation, and reduced visibility head-on.

Whether you choose an anti-fog solution, a Pinlock insert, or a rain-repellent spray, each of these methods offers a solution to a common issue that riders face.

So why let such nuisances distract you when solutions are just a spray or an insert away?

Happy riding!

FAQs

How often should I reapply anti-fog coating or rain repellent spray?

The frequency of reapplication depends on the product you're using and how often you ride. Generally, you might need to reapply every two to three weeks or after heavy rainfall. Always check the manufacturer's instructions for specific guidance.

Are these upgrades compatible with all types of motorcycle helmets?

Most of these upgrades are universally applicable, but there might be exceptions depending on the design or manufacturer of your helmet. It's always advisable to check your helmet's manual or consult with the manufacturer to ensure compatibility.

Do I need professional help for any of these steps, like installing a Pinlock system?

The guide is designed for DIY enthusiasts, so all the steps should be doable without professional help. However, if you're not comfortable performing any of the upgrades, especially ones that might require more precision like installing a Pinlock system, seeking professional assistance is recommended.

What's the quickest upgrade I can make for immediate benefits?

If you're looking for quick results, applying an anti-fog coating or rain repellent spray offers immediate benefits in terms of improved visibility. These coatings usually take just a few minutes to apply and dry, making them perfect for last-minute preparations before a ride.

Get in Touch 🚀

Hey there, savvy shopper! Loved our article on “8 SIMPLE Steps to the Ultimate Motorcycle Visor Upgrade!” Got the itch to dive into more wheely-awesome info?

Whether you're a parent or a grandparent, we're here for all your kids ride-on toy questions! 🚗💨

Feeling click-happy?

Jump straight into our wonderland at RiiRoo.com. Or, if you're more the chatty type, give our Live Chat a whirl and let's talk toys!

Latest Stories

View all

How to Choose a Kids Ride-on Motorbike: A Parent's Complete Guide

How to Choose a Kids Ride-on Motorbike: A Parent's Complete Guide

Before You Buy: Essential Questions Choosing the right ride-on motorbike for your child can feel overwhelming with so many options available. Before you start shopping, take a moment to consider these crucial questions that will guide your decision-making process. First,...

Read more

Dirt Bike Accessories

Top 10 Essential Dirt Bike Accessories for Beginners: Gear Up for Safety and Fun

Published: 29.8.24 Are you revving up to hit the trails on your dirt bike for the first time? Before you twist that throttle, let's make sure you're geared up for safety and success. In this comprehensive guide, we'll walk you...

Read more

10 Best Mods to Lower Any Motorcycle for Short Riders: A Comprehensive Guide

10 Best Mods to Lower Any Motorcycle for Short Riders: A Comprehensive Guide

Published: 29.8.24 For many motorcycle enthusiasts, the thrill of riding is unmatched. However, if you're a shorter rider, that excitement can be tempered by the challenges of managing a bike that feels too tall or unwieldy. The good news is...

Read more