Updated: 28.4.25
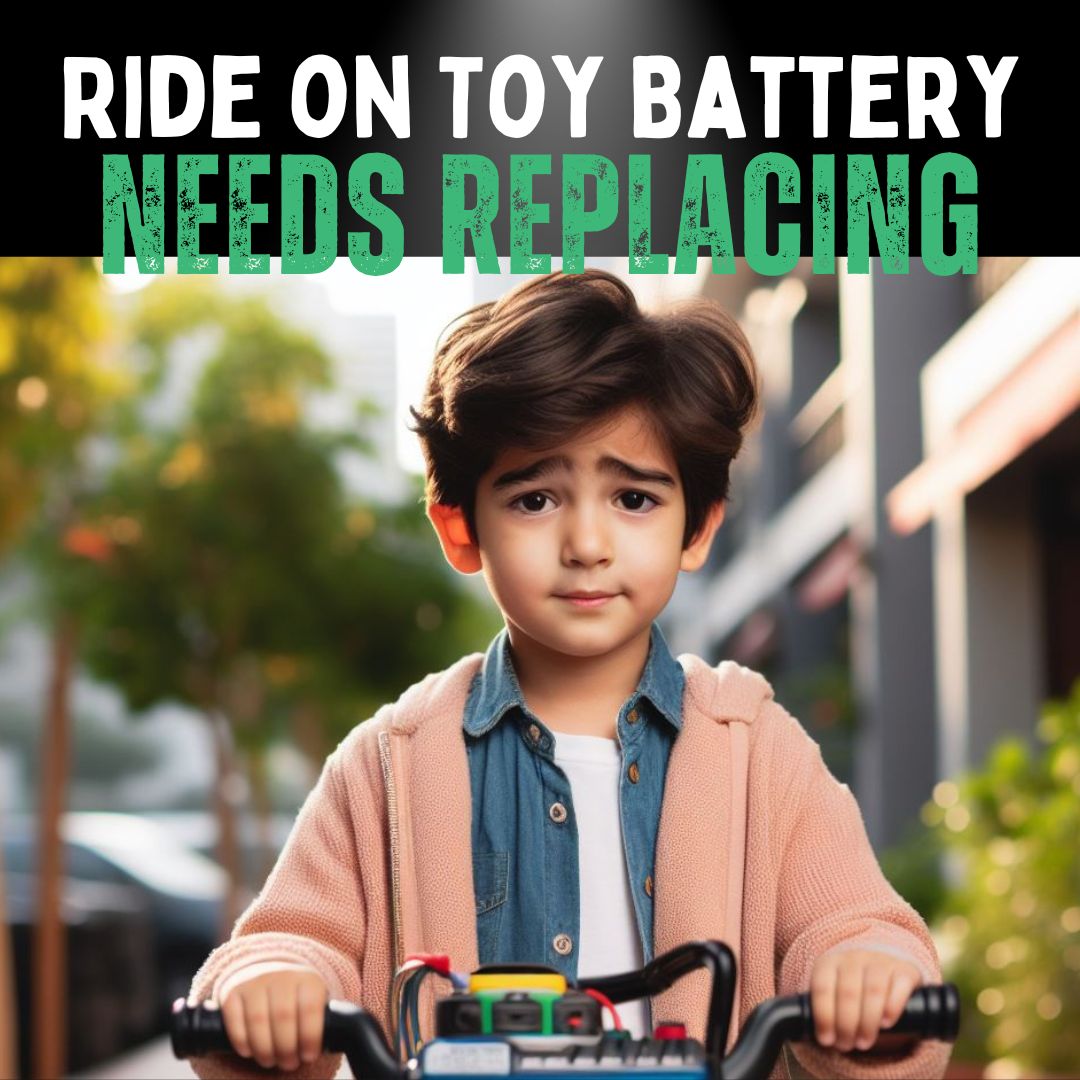
Have you ever watched your child eagerly hop onto their ride-on toy, only to find it moving at a snail's pace—or worse, not starting at all?
It's a moment that can turn excitement into disappointment, both for you and your little one.
As a parent or caregiver, understanding the signs of a failing battery in your child's favourite ride-on toy is crucial.
Doing so ensures uninterrupted fun while maintaining the safety and longevity of the toy.
In this article, we'll guide you through spotting the signs that it's time for a battery replacement and how to go about it.
Quick Battery Health Check Guide
Updated: 28.4.25
Before diving into the technical stuff, start with a simple visual check. Look for any swelling, leaks, or corrosion around the battery area.
Try turning on the toy; if it struggles to move or the lights are dim, those are your first warning signs.
Identifying Signs of Battery Failure
Dim Headlights and Reduced Performance
Dim or flickering headlights are a classic indicator. If your child’s ride-on is sluggish or struggles on inclines, it's time to investigate the battery.
Longer Charging Times and Shorter Play Duration
Is the toy spending more time plugged in than out on adventures? If full charges don't last nearly as long as they used to, your battery is wearing out.
Understanding Battery Life and Usage
Frequent Use and Its Impact
Frequent riding adventures are fantastic for fun—but they also mean faster battery wear. Regular use shortens battery lifespan, especially if the toy is used every day.
Simple Battery Testing Methods
A voltmeter is your friend here. After a full charge, low voltage readings signal it’s time to replace the battery.
Battery Maintenance Tips
- Proper Storage: Store the toy in a cool, dry place to avoid battery damage from extreme temperatures.
- Balanced Usage: Moderate use helps maintain a steady battery life.
- Regular Checks: Inspect the battery monthly for wear, corrosion, and loose connections.
Steps to Replace the Battery

Choosing the Right Replacement Battery
Always match the voltage (e.g., 6V, 12V, 24V) and the physical dimensions to your toy’s original battery. Stick to manufacturer guidelines for best performance and safety.
Safely Removing the Old Battery
- Switch the ride-on toy off completely.
- Wear gloves and safety glasses for protection.
- Remove the battery panel carefully.
- Disconnect the negative terminal first, then the positive.
- Lift out the battery gently—be cautious if there’s any leakage or damage.
Conclusion
Recognising when your child’s ride-on battery needs replacing is an important part of ensuring safe, fun adventures.
By keeping an eye on performance changes, charging habits, and battery condition, you'll catch any issues early and maximise playtime!
Stay proactive, and your little ones will enjoy smooth rides for many happy adventures ahead!
FAQs
What is the typical lifespan of a ride-on toy battery?
Usually between 1 to 3 years, depending on usage and care.
Can I extend the battery life?
Yes! Avoid overcharging, store properly, and maintain moderate, regular use.
How do I ensure the replacement battery is compatible?
Match the voltage, amp-hour rating (AH), and size exactly as specified in your toy’s manual.
Is it safe to replace the battery myself?
Yes, most toy batteries are easy to replace. However, if unsure, seek professional assistance for peace of mind.
Get in Touch 🚀
Loved our article on Signs Your Child's Ride-On Toy Battery Needs Replacing? Dive into more expert tips!
Visit us at RiiRoo.com or chat with our live experts for personalised advice! 🚗💬


Share:
What Is The Best Battery Operated Kids Car?
What Age Is A Kids' Ride On Tractor And Digger For?