Signs Your Child's Ride-On Toy Battery Needs Replacing

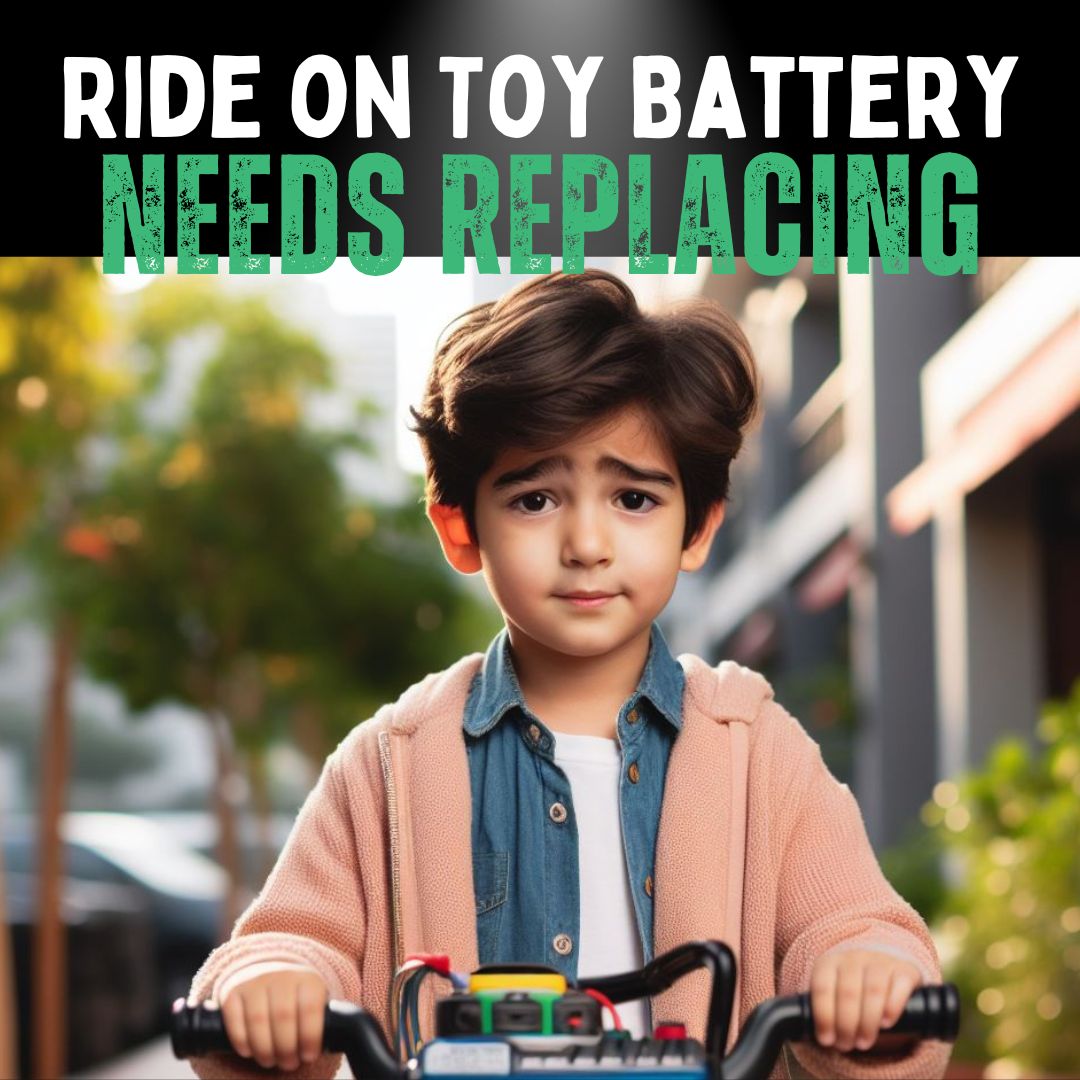
Have you ever watched your child eagerly hop onto their ride-on toy, only to find it moving at a snail's pace or, worse, not starting at all?

It's a moment that can turn excitement into disappointment, both for you and your little one.

As a parent or caregiver, understanding the signs of a failing battery in your child's favourite ride-on toy is crucial.

This not only ensures uninterrupted fun but also maintains the safety and longevity of the toy.

In this article, we'll guide you through identifying the signs that indicate it's time for a battery replacement and how to go about it.

Quick Battery Health Check Guide

Decoding the Signs of a Failing Toy Car Battery — RiiRoo

Before diving into the technicalities, let's start with some basic checks you can perform to assess the health of the toy's battery.

A visual inspection can reveal a lot – look for any physical damage or leaks.

Additionally, try turning on the toy; if it responds sluggishly or the lights are dim, these could be early warning signs.

Remember, a healthy battery is key to a happy ride!

Identifying Signs of Battery Failure

Dim Headlights and Reduced Performance

One of the most noticeable signs of a battery in need of replacement is dim headlights.

If you observe that the lights on your child's toy are not as bright as they used to be, it's a clear indicator that the battery is losing its charge.

Similarly, if the toy struggles to start or moves slowly, especially on inclines, it's time to consider a battery check.

Longer Charging Times and Shorter Play Duration

Another tell-tale sign is a change in the battery's charging and performance patterns.

If you find yourself charging the battery more frequently, or if the toy doesn't run as long as it used to on a full charge, the battery is likely approaching the end of its lifespan.

Understanding Battery Life and Usage

Understanding the Lifespan of Kids' Toy Car Batteries — RiiRoo

Frequent Use and Its Impact

Just like any battery-operated device, the more frequently a ride-on toy is used, the quicker its battery will degrade.

Regular use, while great for your child's enjoyment and physical activity, can take a toll on the battery's health over time.

Simple Battery Testing Methods

For those who are not technically inclined, testing a toy's battery doesn't have to be complicated.

Simple tools like a voltmeter can be used to check the battery's voltage.

If the readings are consistently low, even after a full charge, it's a sign that the battery is no longer performing optimally.

Battery Maintenance Tips

To prolong the life of your child's ride-on toy battery, regular maintenance is key.

Here are some tips to keep the battery in top condition:

  • Proper Storage: Store the ride-on toy in a cool, dry place when not in use. Extreme temperatures can adversely affect the battery's performance and lifespan.
  • Balanced Usage: Encourage your child to use the toy regularly but avoid overuse. Consistent, moderate use helps maintain the battery's efficiency.
  • Regular Checks: Periodically check the battery for any signs of wear or damage, and ensure the connections are clean and tight.

Steps to Replace the Battery

Has My Battery Run Flat on My Kids Ride On Car? [A Parents Guide] — RiiRoo

Choosing the Right Replacement Battery

When it comes to selecting a new battery, it's important to consider factors like voltage, ampere-hour (AH), and the physical size of the battery.

Ensuring that you choose a battery that matches the toy's specifications is crucial for optimal performance and safety.

Safely Removing the Old Battery

Replacing the battery in your child's ride-on toy must be done with safety as the top priority.

Before you begin, here are some important safety precautions:

  1. Wear Protective Gear: Always wear gloves to protect your hands from potential battery acid. Safety glasses are also recommended to shield your eyes.
  2. Ensure the Toy is Off: To prevent any accidental operation, make sure the ride-on toy is switched off before you start the battery replacement process.
  3. Avoid Direct Contact with Damaged Batteries: If the old battery shows signs of leakage or damage, handle it with extreme care. Avoid direct contact with your skin and dispose of the battery responsibly.
  4. Once you have taken these safety measures, you can proceed to remove the old battery:
  5. Unscrew and remove the panel or cover to access the battery compartment.
  6. Carefully disconnect the battery terminals, starting with the negative (-) terminal, followed by the positive (+) terminal.
  7. Remove the old battery from the compartment, being mindful of its weight and potential sharp edges.

By integrating the safety precautions with the removal steps, the article not only instructs but also educates the reader on the importance of safety, making the guide more comprehensive and practical.

Conclusion

Recognising when your child's ride-on toy battery needs replacing and knowing how to do it is an essential part of maintaining the toy.

Regular checks and timely replacements will not only prolong the life of the toy but also ensure your child's safety and enjoyment.

Remember, a well-maintained ride-on toy is one that your child can enjoy to the fullest!

In this article, we've covered the key signs to look out for, simple testing methods, and steps to replace a failing battery.

By staying vigilant and proactive, you can keep those little wheels turning smoothly for many fun-filled days to come!

FAQs

What is the typical lifespan of a battery in a child's ride-on toy?

The lifespan of a ride-on toy's battery varies depending on usage and maintenance. Generally, with regular use and proper care, a battery can last between 1 to 3 years. However, frequent use or extreme weather conditions can shorten this lifespan.

Can I extend the battery life of my child's ride-on toy?

Yes, you can extend the battery life by following a few simple steps. Avoid overcharging the battery, store the toy in a temperature-controlled environment, and ensure it's not left unused for extended periods. Regular, moderate use is also beneficial for battery health.

How do I know if the replacement battery is compatible with my child's toy?

To ensure compatibility, check the toy's manual for battery specifications, including voltage, AH (ampere-hour), and physical size. It's crucial to match these specifications with the replacement battery to ensure safety and optimal performance.

Is it safe for me to replace the battery myself, or should I seek professional help?

Battery replacement in most children's ride-on toys is designed to be a simple, safe process that can be done at home. However, if you're not comfortable or the toy has a complex mechanism, seeking professional help is advisable. Always prioritize safety and follow the manufacturer's instructions when replacing the battery.

Get in Touch 🚀

 Loved our article on “Signs Your Child's Ride-On Toy Battery Needs Replacing” Got the itch to dive into more wheely-awesome info?

Whether you're a parent or a grandparent, we're here for all your kids ride-on toy questions! 🚗💨

Feeling click-happy?

Jump straight into our wonderland at RiiRoo.com.

Or, if you're more the chatty type, give our Live Chat a whirl and let's talk toys!

Latest Stories

View all

Here's The Difference Between Low/High Speed on Your Kids Ride On

Here's The Difference Between Low/High Speed on Your Kids Ride On

Ever noticed how kids’ eyes light up at the sight of a ride-on toy? These miniature vehicles are more than just a fun pastime; they're a big part of growing up today. But with great fun comes great responsibility—especially when...

Read more

Here's How To Recycle Your Kids Ride On Toys

Here's How To Recycle Your Kids Ride On Toys

Ever wondered where all those missing tricycles, scooters, and pedal cars end up? In Ireland alone, children’s lost toys contribute nearly 500 tonnes of plastic waste each year—that's the equivalent of over 30 million plastic bottles dumped into landfills! As...

Read more

Here's When You Should Use A 6 Volt Charger

Here's When You Should Use A 6 Volt Charger

Have you ever plugged your phone into a charger overnight, only to find it stubbornly refuses to charge by morning? Frustrating, right? Now imagine that happening to your kid's ride on car or your favourite golf cart because you used...

Read more