


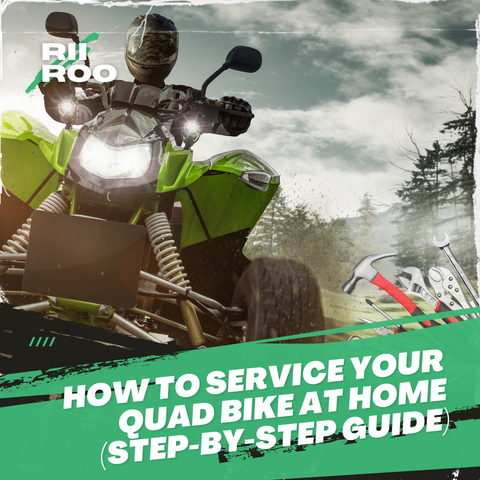
Updated: 09.05.25
Quad bike acting up? This guide shows you how to fix common mechanical issues yourself, saving time and money while keeping your quad bike trail-ready.
From engine troubles to brake issues, we’ll cover essential DIY repairs for beginners and pros alike. Let’s dive into maintaining your quad bike’s performance!
1. Common Quad Bike Issues
Quad bikes are built for adventure, but they can face issues like stubborn engines, worn brakes, or flat tyres. Regular maintenance prevents major problems and keeps your ride smooth.
2. Essential Tools for Repairs
Tool Checklist
Equip yourself with these tools for effective DIY repairs:
- Wrenches: Various sizes, including adjustable, for bolts and nuts.
- Pliers: Needle-nose and locking for gripping and tight spaces.
- Screwdrivers: Flathead and Phillips in multiple sizes.
- Socket Set: Metric and standard sizes for quick bolt removal.
- Torque Wrench: Ensures precise bolt tightening.
- Air Compressor: For tyre inflation and pneumatic tools.
- Tyre Repair Kit: Includes patches, plugs, and levers for punctures.
- Digital Multimeter: Diagnoses electrical issues like battery problems.
- Chain Breaker/Rivet Tool: For chain repairs or replacements.
- Service Manual: Guides specific repair procedures.
Why These Tools Matter
With this toolkit, you can handle most repairs on the go, saving costs and ensuring your quad bike stays reliable. Explore quad bike accessories for quality parts.
3. Change Oil and Oil Filter
Regular oil changes keep your engine healthy. Follow these steps:
- Warm the Engine: Run the quad bike for a few minutes to thin the oil.
- Locate Drain Plug: Find the plug under the engine; place a drain pan beneath.
- Drain Old Oil: Remove the plug and let oil drain completely.
- Replace Oil Filter: Unscrew the old filter, lubricate the new filter’s gasket, and install it.
- Replace Drain Plug: Secure the plug snugly.
- Add New Oil: Pour in the recommended oil type and amount (check manual).
- Check for Leaks: Run the engine and inspect for leaks.
- Verify Oil Level: Use the dipstick to ensure the level is correct.
- Dispose of Old Oil: Take it to a recycling centre.
Why It’s Key: Fresh oil reduces engine wear, extending your quad bike’s life.
4. Clean or Replace Air Filter
A clean air filter ensures optimal engine performance. Here’s how:
- Locate Air Filter: Find it in the air box, typically on the engine’s side or top.
- Remove Filter: Unscrew or unclip the cover to access it.
- Inspect Filter: Check foam filters for tears; paper filters for rips or grime.
- Clean Foam Filter: Wash with air filter cleaner, rinse, and dry.
- Clean Paper Filter: Use compressed air to remove dirt (no water).
- Re-oil Foam Filter: Apply air filter oil evenly to dry foam filters.
- Reinstall Filter: Secure it in the air box.
- Clean Air Box: Wipe with a rag and contact cleaner.
- Test Engine: Run the engine to check for leaks or unusual sounds.
Why It’s Key: A clogged filter reduces power and fuel efficiency.
5. Check and Replace Spark Plugs
Spark plugs ignite the engine’s fuel. Maintain them with these steps:
- Check Timing: Inspect during maintenance or if idling is rough.
- Locate Plugs: Find them at the engine’s top or side (check manual).
- Remove Plugs: Unscrew gently with a spark plug socket.
- Inspect Plugs: Look for soot, damage, or wear; replace if needed.
- Clean Plugs: Use a wire brush for minor dirt; skip if worn.
- Check Gap: Use a gap gauge to match specifications.
- Install Plugs: Hand-tighten, then torque to specs.
- Test Engine: Run to ensure smooth performance.
- Routine Checks: Include in regular maintenance.
Why It’s Key: Worn plugs cause misfires and poor performance.
6. Brake System Maintenance
Brakes are critical for safety. Keep them in top shape:
- Understand Importance: Brakes ensure safe stopping.
- Inspect Regularly: Check pads, fluid, and lines.
- Check Brake Pads: Replace if worn to indicators.
- Monitor Fluid: Refill or replace if low or discoloured.
- Inspect Lines: Fix cracks or leaks immediately.
- Feel Brakes: Address sponginess or noises promptly.
- Clean Components: Remove dirt for optimal function.
- Professional Checks: Schedule periodic expert inspections.
- Ride Safely: Avoid hard braking to reduce wear.
7. Tyre Maintenance
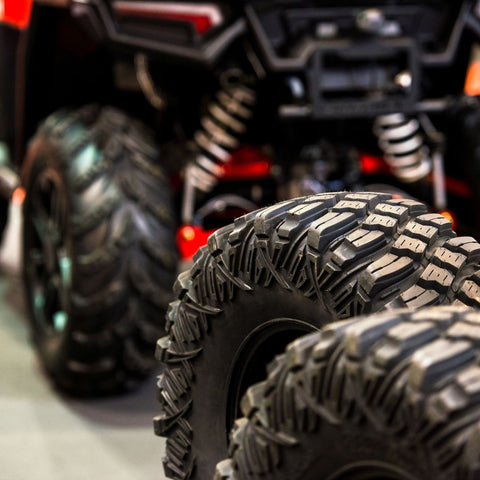
Tyres affect grip and handling. Maintain them properly:
Inspect Tyres
Check for cuts, punctures, or worn tread. Replace tyres with shallow tread for safety.
Maintain Pressure
Use a tyre gauge to ensure pressure matches the manual’s specs for optimal performance.
8. Battery Care
The battery powers your quad bike. Keep it reliable:
Regular Upkeep
Clean terminals, tighten connections, and use a trickle charger for idle periods.
Troubleshoot Issues
Address slow cranking, dim lights, or frequent jump starts by checking or replacing the battery.
| Issue | Symptom | Solution |
|---|---|---|
| Difficulty Starting | Engine cranks slowly or not at all. | Charge or replace battery. |
| Dim Lights | Headlights and dashboard lights dim. | Check charging system and connections. |
| Frequent Jump Starts | Needs regular jumps to start. | Replace aged or damaged battery. |
9. Electrical System Checks
Inspect wiring, fuses, and terminals for damage or corrosion. Use a multimeter to diagnose issues and consult the manual for complex problems.
10. Suspension and Steering
Lubricate pivots, bearings, and joints per the manual. Check shocks and bushings for wear to ensure smooth handling.
11. Emergency Repair Kit
Carry tyre repair tools, a multi-tool, spare fuses, a flashlight, and zip ties. This kit prepares you for trail-side fixes.
| Item | Purpose |
|---|---|
| Tyre Repair Tools | Fix flats on the go. |
| Multi-Tool | Handle various quick fixes. |
| Spare Fuses | Replace blown fuses. |
| Flashlight | Provide visibility for repairs. |
12. Safety Tips
Wear protective gear, work in a ventilated space, and follow tool safety guidelines. For complex repairs (e.g., engine or transmission), consult a professional to avoid risks.
13. Final Thoughts
Maintaining your quad bike ensures safety, performance, and longevity. With these DIY fixes, you’ll save money and enjoy the thrill of a well-tuned ride.
Keep your quad bike roaring! Shop quad bikes or read more maintenance guides for expert tips!
Frequently Asked Questions
How often should I service my quad bike?
Service every 6–12 months or per the manual, depending on usage and conditions.
What tools do I need for basic quad bike repairs?
Wrenches, pliers, screwdrivers, socket set, torque wrench, air compressor, tyre repair kit, multimeter, and service manual.
Can I fix a quad bike battery issue myself?
Yes, clean terminals, check connections, or replace the battery. Use a multimeter for diagnostics.
When should I replace my quad bike’s air filter?
Replace foam filters if torn or heavily soiled; paper filters if ripped or clogged, typically every 6–12 months.
What are signs my quad bike brakes need maintenance?
Spongy levers, squealing, grinding, or reduced stopping power indicate worn pads or fluid issues.


Share:
The Advantages and Disadvantages of Quad Bikes
How To Fix A Quad/ATV That's Turning Over But Not Starting