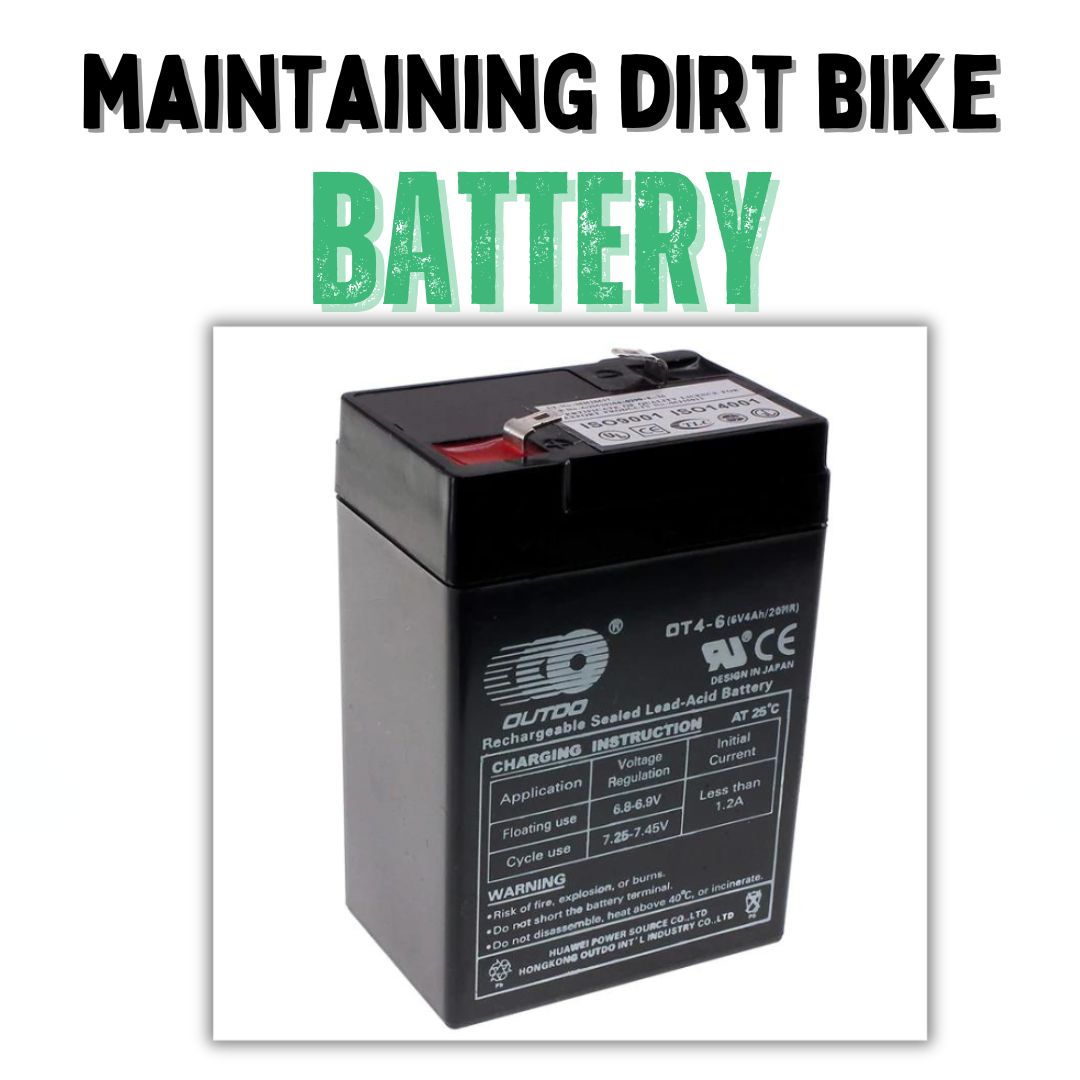
How To Maintain Your Dirt Bike Battery

If you're a dirt bike enthusiast, you know that your bike's performance depends on more than just the engine and tyres.

Your dirt bike's battery plays a crucial role in starting the engine and powering essential accessories.

To ensure your rides are smooth and trouble-free, it's essential to know how to maintain your dirt bike battery properly.

Understanding Dirt Bike Batteries

Basics of Dirt Bike Batteries

Before delving into maintenance, let's start with the basics. Dirt bike batteries come in two primary types: lithium and lead acid.

Each has its characteristics and advantages. Lithium batteries, for instance, are lighter and more powerful for their size compared to lead-acid batteries.

They also operate at a higher voltage, providing better performance to voltage-dependent systems.

Common Causes of Battery Failure

Understanding the common causes of battery failure is the first step in maintaining your battery.

Allowing the battery to run low on power, especially when running extra accessories, can lead to battery failure.

Poor ground connections, parasitic draw, corrosion, and a faulty voltage regulator are other factors to watch out for.

Overloading the battery with accessories and infrequent short rides can also contribute to battery problems.

Choosing the Right Battery Type

When it comes to choosing the right battery for your dirt bike, it's essential to consider your specific needs.

Two primary types of batteries are commonly used: lithium and lead-acid.

Lithium Batteries

Lithium batteries offer several advantages, including a higher energy density and a lighter weight compared to lead-acid batteries.

They operate at a higher voltage, which can provide better performance to various voltage-dependent systems on your dirt bike, such as the starter motor windings, coils, and injectors.

However, they tend to be more expensive than lead-acid batteries.

Lead-Acid Batteries

Lead-acid batteries are known for their reliability and cost-effectiveness.

They are a popular choice for many dirt bike riders. While they may not have the high energy density of lithium batteries, they are readily available and more budget-friendly.

When choosing a battery type, consider your riding style, budget, and performance requirements.

Both lithium and lead-acid batteries can serve you well if selected according to your needs.

Regular Maintenance and Care

Charging Practices

To keep your dirt bike battery in top condition, regular charging is crucial.

Especially if your bike is not used frequently, invest in a motorcycle battery charger.

Charging the battery becomes essential when the bike is kept in storage for weeks or months at a time.

It's like giving your battery a breath of fresh air, ensuring it's always ready for action.

Maintenance Schedule

Implementing a routine maintenance schedule is key. Check the battery terminals for corrosion, verify the electrolyte levels, and test the battery's power with a battery tester.

These checks and adjustments should be performed on a monthly basis.

This regular upkeep ensures that your battery is always in optimal condition.

Temperature Regulation

Extreme temperature shifts can expedite vapor loss and negatively affect the battery.

To extend the life of your battery, try to regulate the temperature in which it operates.

Avoid exposing it to extreme cold or heat, which can lead to premature wear and tear.

Effective Use of Tools and Equipment

Using a Battery Tender

For dirt bikes that are not ridden weekly, consider using a battery tender.

This device helps keep the battery maintained without over or undercharging it.

It's a convenient way to ensure your battery is always in peak condition, even during long periods of inactivity.

Voltage Monitoring

Knowing how to check the battery voltage is essential. Follow these steps:

  1. Set the multimeter to the 20 volts DC setting.
  2. Attach the positive (red) and negative (black) leads of the multimeter to the battery terminals.
  3. A fully charged battery will have a voltage reading of 12.6 to 12.8 volts.
  4. Start the bike, allow it to warm up, and rev it up to 3,000 to 4,000 rpm.
  5. Check the DC voltage at the battery. It should read about 13.5 to 14.5 volts when the engine is revved up.
  6. If the voltage is above or below this range, further tests may be needed.
  7. If the battery voltage is below 13.5 volts, the stator AC output needs to be tested. If it's above 14.5 volts, the voltage regulator might be defective.

Additionally, you can use a voltmeter to monitor the battery's voltage during an engine start.

A healthy motorcycle battery, when fully charged, will read in the voltage range of 12.7-13.6 volts.

Cleaning and Maintenance of Battery Terminals

Proper maintenance of your battery terminals is crucial for ensuring a reliable connection and preventing corrosion.

Step 1: Safety First

Before starting, ensure your safety by wearing gloves and eye protection. Battery terminals may have corrosive residue that can be harmful to your skin and eyes.

Step 2: Cleaning

  1. Mix a solution of baking soda and water (1 tablespoon of baking soda in 1 cup of water).
  2. Use an old toothbrush or a dedicated battery terminal cleaning brush to apply the solution to the terminals.
  3. Scrub the terminals gently to remove corrosion and dirt.
  4. Rinse with clean water and dry with a clean cloth or paper towel.

Step 3: Preventing Future Corrosion

To prevent future corrosion, apply a thin layer of dielectric grease or petroleum jelly to the cleaned terminals. This creates a barrier that inhibits the formation of corrosion.

Perform this cleaning and maintenance routine regularly to ensure your battery terminals remain in excellent condition.

Storage and Long-term Care

Optimal Storage Conditions

Proper storage is essential for maintaining your dirt bike battery.

Store the battery in a dry place at temperatures between 15 to 20 degrees Celsius.

Avoid extremely cold temperatures, and keep it away from metal or concrete surfaces that can affect its performance.

Ideal storage conditions ensure your battery remains in top shape during off-season periods.

Disconnect or Remove the Battery

If the battery is not going to be used for several weeks or months, consider removing it from the motorcycle.

When removed, place it on a non-conductive surface such as wood or rubber to prevent discharge.

This extra step can significantly extend the battery's lifespan.

Recognising Signs of Battery Issues

Symptoms of a Failing Battery

Knowing the signs of a failing battery is essential for timely maintenance.

If your battery discharges quickly, struggles to recharge fully, or exhibits physical deformations, it may be time for a replacement.

Consistent starting and charging problems, along with sulfation and corrosion, are also indicators that your battery needs attention.

Consequences of Low Battery Voltage

Riding with a low battery voltage in your dirt bike can lead to various consequences.

These include engine stalling, poor performance, starting and charging issues, and cranking voltage problems.

A healthy battery voltage is essential for a smooth and trouble-free ride.

Battery Replacement Guide

Over time, even with proper maintenance, your dirt bike battery may need replacement.

Here's a guide on when and how to replace it.

Signs of a Failing Battery

  • Fast Discharge and Incomplete Recharge: If your battery discharges quickly and struggles to recharge fully, it's a sign of a failing battery.
  • Corroded or Broken Terminals: Heavily corroded or damaged battery terminals indicate a failing battery.
  • Physical Deformation: Bulges, cracks, or lumps on the battery's surface suggest a problem.
  • Inability to Hold Charge: If the battery can't hold a charge, it may need replacement.
  • Starting and Charging Problems: Consistent starting and charging issues are strong indicators of a failing battery.
  • Sulfation and Corrosion: Built-up sulfation and heavily corroded battery terminals are common indicators of a battery losing charge.

Steps for Battery Replacement

  1. Safety Precautions: Always wear protective gear, including gloves and eye protection, when handling batteries.
  2. Disconnect the Old Battery: Remove the cables from the old battery, starting with the negative (black) cable and then the positive (red) cable.
  3. Remove the Old Battery: Unscrew any brackets or hardware securing the battery in place and carefully lift it out.
  4. Prepare the New Battery: Ensure the new battery has the same specifications as the old one and is fully charged.
  5. Install the New Battery: Place the new battery in the battery compartment and secure it with brackets.
  6. Connect the Cables: Attach the positive (red) cable first and then the negative (black) cable. Ensure the connections are tight.
  7. Test the New Battery: Start your dirt bike and check if it runs smoothly. If everything is working correctly, your battery replacement is successful.

Remember that battery disposal is subject to environmental regulations.

Dispose of old batteries at a recycling facility or as per local guidelines.

Conclusion

Your dirt bike battery is a vital component that deserves proper care and maintenance.

By understanding the basics of dirt bike batteries, implementing a regular maintenance schedule, and using the right tools, you can ensure your battery performs optimally.

Additionally, following storage guidelines and recognising signs of battery issues will help you enjoy hassle-free rides and extend the life of your dirt bike battery.

Maintaining your dirt bike battery is a small investment that pays off with improved performance and fewer issues on the trail.

So, keep your battery charged, check it regularly, and ride with confidence knowing your dirt bike is powered by a healthy battery.

Latest Stories

View all

How Long Do Kids' Electric Cars Last?

How Long Do Kids' Electric Cars Last?

Kids' electric cars are a source of endless fun, but battery life can sometimes feel like a limitation. Understanding how long these cars typically run, what factors impact their performance, and how to care for them can ensure your child...

Read more

Getting Your Kids Started with Dirt Biking: A Parent's Guide

Getting Your Kids Started with Dirt Biking: A Parent's Guide

Dirt biking offers children an exciting outdoor adventure that builds confidence, instills responsibility, and creates lasting family memories. Whether you’re a seasoned rider introducing your child to the sport or entirely new to dirt biking yourself, this comprehensive guide will...

Read more

How to Find the Best Electric Quad for Your Kid

How to Find the Best Electric Quad for Your Kid

Selecting the perfect electric quad bike for your child is an exciting yet crucial decision that can shape their outdoor adventure experience. With safety, comfort, and enjoyment in mind, let's explore the key factors that will help you make the...

Read more