


Updated: 14.4.25

When you're flying down trails or tackling muddy jumps, the last thing you want is a loose grip. Not only is it a safety hazard—it can completely ruin your ride.
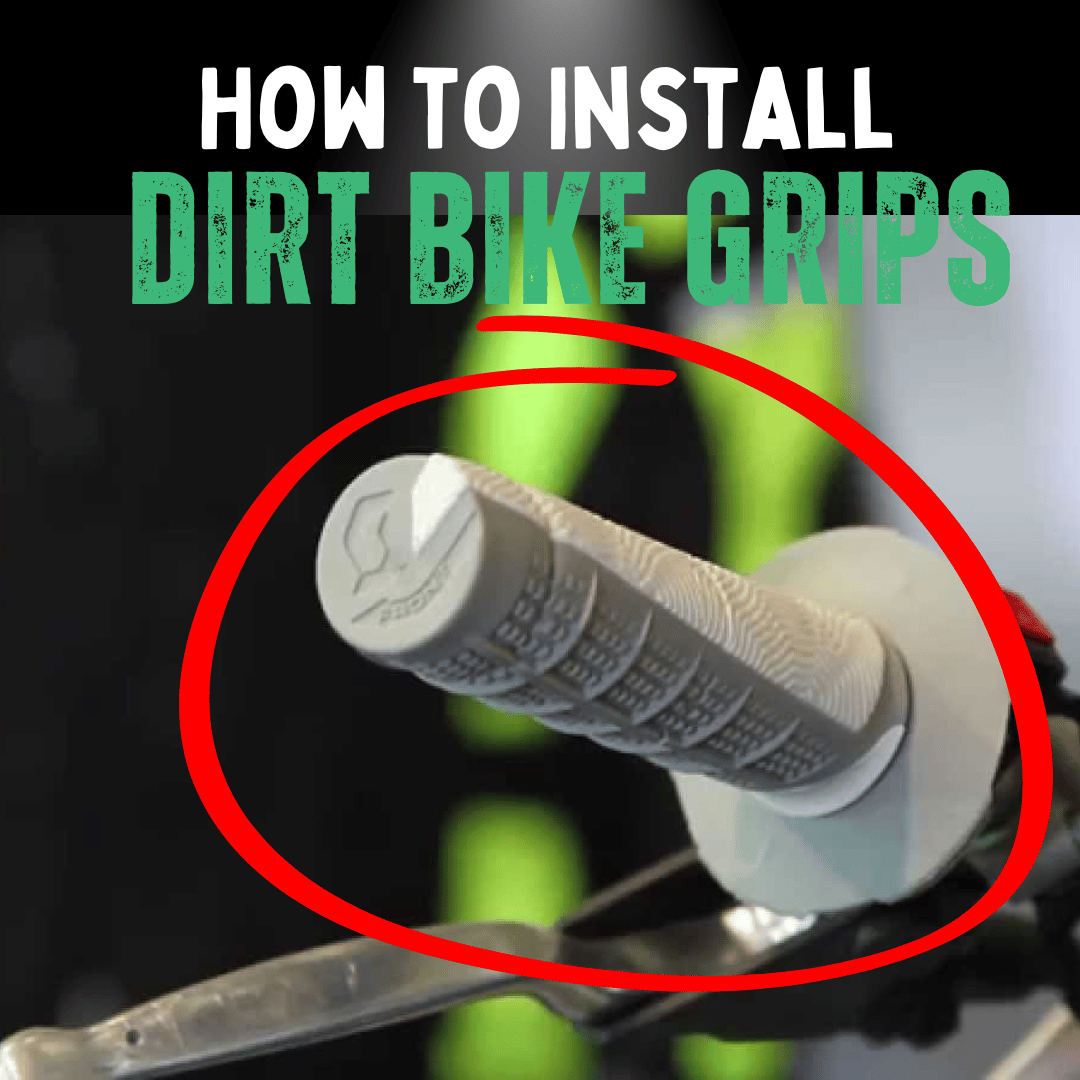
If your grips are worn out or you're just craving a fresh upgrade, you're in the right place.
In this quick 4-step guide, we’ll show you how to install new dirt bike grips—even if you’ve never touched a wrench in your life.
Let’s get started!
When Should You Replace Your Dirt Bike Grips?
- Grips feel slippery even when dry
- Rubber looks torn, cracked, or flattened
- You feel more fatigue in your hands during rides
Quick Overview: The 4 Steps
| Step | Action | Tips |
|---|---|---|
| 1. Remove Old Grips 🛠 | Cut or slide off old grips | Use compressed air or solvent for stuck ones |
| 2. Clean Handlebars 🔧 | Use rubbing alcohol | Ensure the bars are completely dry |
| 3. Install New Grips 🤝 | Apply grip glue and slide them on | Use compressed air for easier fitting |
| 4. Secure Grips 🔒 | Wrap with safety wire | Don’t over-tighten the wire |
Step 1: Remove Old Grips
- Cut carefully with a utility knife—avoid damaging throttle tubes
- Use compressed air or solvent for stubborn grips
- Twist and pull to loosen if needed
Step 2: Clean the Handlebars
- Use rubbing alcohol and a clean cloth
- Remove glue, grime, and residue completely
- Ensure everything is bone dry before proceeding
Step 3: Install New Grips
- Apply grip glue evenly inside each new grip
- Slide onto handlebars quickly before the glue dries
- Use compressed air for smoother application
Step 4: Secure with Safety Wire
- Wrap the wire tightly near the ends and middle of each grip
- Use wire pliers to twist and secure the ends
- Don’t overtighten—it should be firm, not uncomfortable
Common Mistakes to Avoid
- Cutting too deep: You could damage underlying components like throttle tubes
- Using too much glue: Excess glue can make a mess and reduce grip hold
- Skipping handlebar cleaning: Grime interferes with adhesion
Material Matters: Choosing the Right Grips
- Rubber Grips: Good balance between grip and comfort
- Foam Grips: Great for shock absorption but may wear faster
- Gel Grips: Best for vibration reduction but can be less tacky
FAQs
How often should I change dirt bike grips?
When grips become slippery, torn, or worn—usually every few months with heavy use.
Can I reuse old grips?
Not recommended. Reused grips might not adhere well and could compromise control.
Are all grips the same size?
Most grips come in standard sizes but double-check compatibility with your bike model.
What’s the best adhesive for grip installation?
Grip-specific glue is ideal. Hairspray or contact adhesive can work in a pinch but aren’t as reliable.
How often should I check the safety wire?
Inspect before each ride. Replace if loose or rusted.
Need New Grips for the Little Riders?
Explore our collection of kids' ride-on motorbikes—because little bikers deserve a smooth, comfortable ride too!


Share:
How Fast Does a 250cc Dirt Bike Go? (ANSWERED)
18 PROVEN Ways to STOP Your Dirt Bike From Overheating