


Published: July 15, 2021
Updated: March 21, 2025
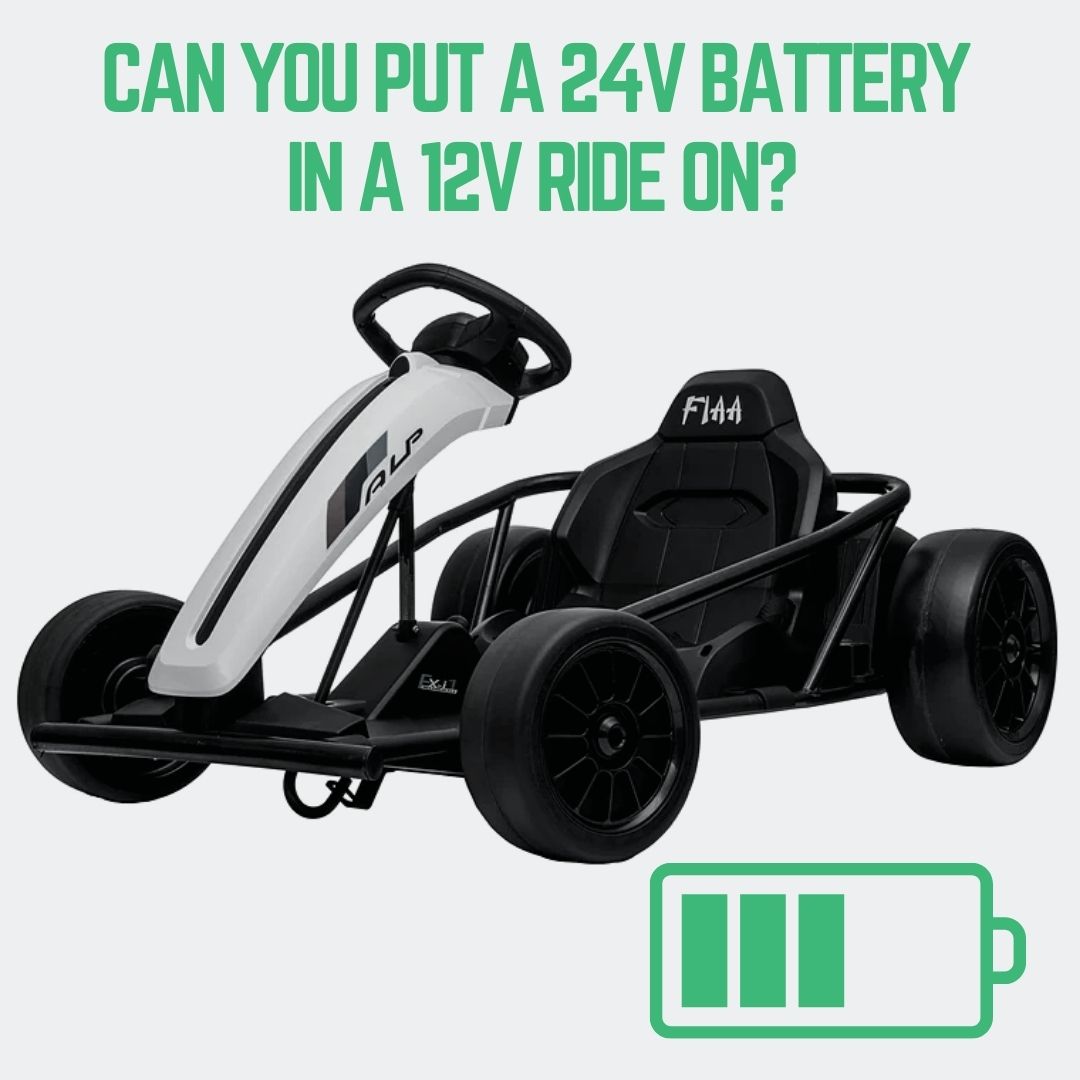
Can You Put a 24V Battery in a 12V Ride-On? What Parents Need to Know
Shopping for a 24V ride-on and wondering if a 24V battery will juice up your 12V model?  It might sound like a quick power boost, but it’s not that simple—and it’s usually not safe. Let’s break it down.
12V vs. 24V: What’s the Difference?
A 24V battery has twice the cells of a 12V—think two 12V batteries stacked together. Here’s how they stack up:
12V vs 24V Battery Comparison
12V Battery
Single battery system
24V Battery
Two 12V batteries in series
Key Differences
- Power: 24V doubles capacity (e.g., 100Ah 24V = 2400Wh vs. 1200Wh for 12V).
- Runtime: 24V lasts 1-1.5 hours; 12V runs 45-60 minutes.
- Charge Time: 24V takes 10-18 hours; 12V needs 8-12.
- Use: 24V suits bigger, off-road ride-ons; 12V fits smaller toys.
Why Upgrade to 24V?
Parents eye 24V for:
- More Power: Faster speeds (4-8 mph vs. 3-5 mph) and better hill climbs.
- Longer Play: Up to 3 hours vs. 1-2 for 12V.
- Efficiency: Less heat, more juice for accessories.
But here’s the snag: 12V ride-ons aren’t built for 24V’s extra oomph—think bigger size, weight, and strain.
Can You Do It? Risks and Reality
Technically, yes—but we don’t recommend it. A 24V battery in a 12V ride-on can:
- Overload the motor, burning it out.
- Melt wiring or the motherboard.
- Void warranties and create safety hazards.
Most 12V toys can’t handle the space or stress of 24V. Check out this comparison:
| Feature | 12V Ride-On | 24V Ride-On |
|---|---|---|
| Speed | 3-5 mph | 4-8 mph |
| Runtime | 1-2 hours | 1.5-3 hours |
| Terrain | Flat surfaces | Rougher ground |
How to Upgrade (If You Dare)
Still tempted? Here’s what’s needed—but proceed with caution:
| Tools Needed |
|---|
| Insulated screwdriver, wire strippers, multimeter, electrical tape, fuse holder |
| Steps |
|---|
| 1. Remove the 12V battery. |
| 2. Check wiring for wear. |
| 3. Connect 24V battery with a fuse on the positive terminal. |
| 4. Insulate all connections. |
Safety Musts: Use gloves, add a 50-amp fuse, and never reverse polarity. But honestly? Get a pro—motors, gearboxes, and motherboards often need 24V upgrades too.
Costs to Consider
Upgrading isn’t cheap:
| Item | 12V Cost | 24V Cost |
|---|---|---|
| Battery | £25-£40 | £70-£100 |
| Charger | £15-£25 | £20-£40 |
| Extras (fuse, wiring) | £24-£48 | |
Total DIY: £100-£200. Pro install? Add £40-£80. Worth it? Maybe—if your kid needs the power and you’re okay with the risk.
Wrap-Up
Swapping a 24V battery into a 12V ride-on isn’t a plug-and-play fix—it’s a gamble. For safety and peace of mind, stick to the right voltage or call a pro. Rather skip the hassle? Check out our 24V ride-ons built for the job!
Frequently Asked Questions
Can I use a 24V battery in my 12V ride-on?
Not safely—it can overload the motor and wiring. Stick to 12V unless you upgrade everything.
How do I make a 24V system with 12V batteries?
Connect two 12V batteries in series—positive to negative—but we don’t recommend it without pro help. See the diagram: 
What’s better—12V or 24V for my kid?
12V is gentler for young kids; 24V packs more speed and runtime for older ones. Match it to their age and skill.
Got Questions? We’re Here! 🚗
Love this guide? Zoom over to RiiRoo.com or hit our Live Chat!


Share:
So, What is the Difference Between 24v and 24v Parallel Ride on Cars?
How Fast Do Ride On Toys Go? [A Parents Guide]