


Published: August 7, 2024
Updated: March 26, 2025
Is your child’s electric ride-on toy not working? Don’t worry!
This 2025 beginner’s guide covers common issues, tools, and fixes to get it running again.
Safety First
Before repairing, prioritize safety—unplug the battery, work in a ventilated area, wear gloves and safety glasses, and keep kids and pets away.
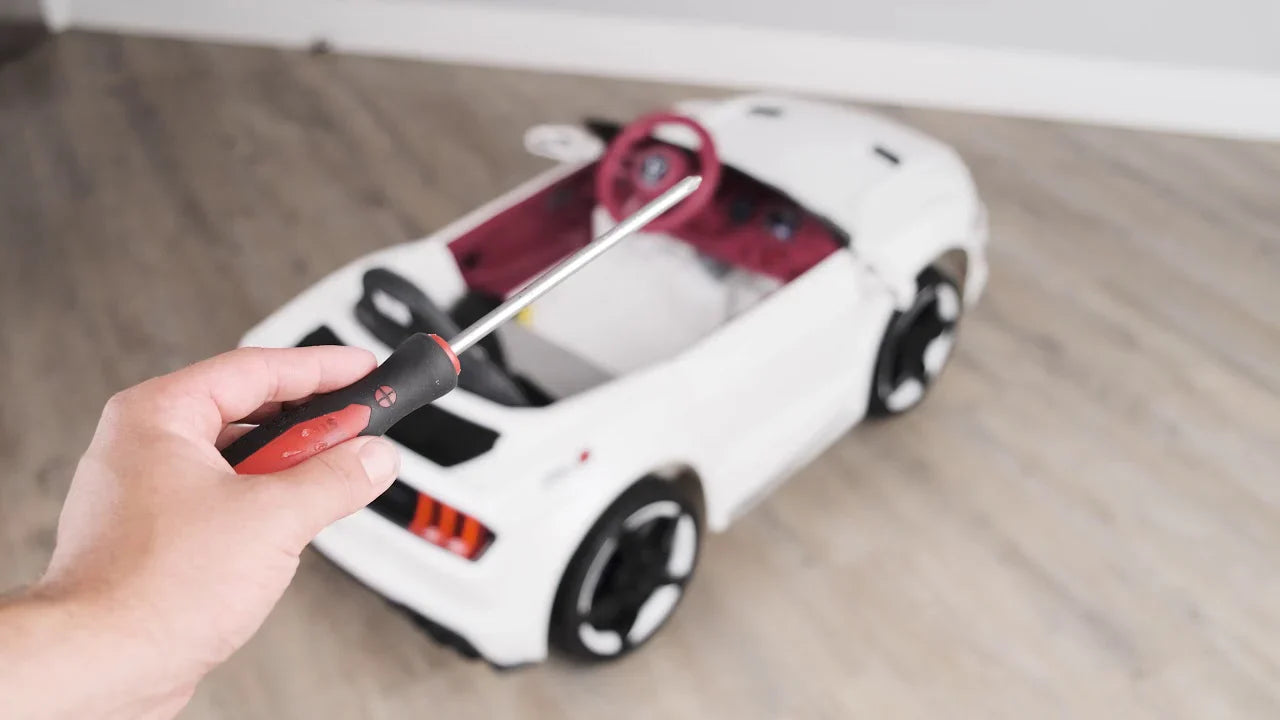
Tools You’ll Need
| Tool | Use |
|---|---|
| Multimeter | Test battery, motor, and wiring. |
| Screwdriver Set | Remove screws (flathead and Phillips). |
| Pliers | Handle wires and connectors. |
| Electrical Tape | Insulate wires after repairs. |
Diagnosing the Problem
First, identify the issue:
- Won’t turn on?
- Making odd noises?
- Moving slowly?
- Hard to steer?
A multimeter helps check electrical parts—watch a YouTube tutorial if you’re new to using one.
Common Issues and Fixes
Battery Problems
- Test Voltage: A 12V battery should read 12.6-12.8V—charge if low, replace if it won’t hold.
- Check Corrosion: Clean terminals with baking soda and water if crusty.
- Use Right Charger: Only use the manufacturer’s charger to avoid damage.
Motor and Controller Issues
- Listen for Noises: Grinding means the motor may be faulty.
- Test Motor: Connect it directly to the battery—if it doesn’t spin, replace it.
- Check Controller: Use a multimeter to test if power flows when pressing the pedal.
Electrical Problems
- Inspect Fuses: Replace any that look burnt or broken.
- Check Wires: Fix broken wires with electrical tape or replace them.
- Test Switches: Ensure all switches work with a multimeter.
Wheels and Tyres
- Inspect Tyres: Replace if worn or punctured.
- Check Wheels: Tighten or replace if cracked or wobbly.
- Lubricate Bearings: Add grease to wheel bearings for smooth spinning.
Steering Issues
- Align Steering: Ensure the steering column is straight and secure.
- Lubricate Joints: Apply silicone lubricant to steering parts.
Step-by-Step Fixing Guides
- Replace Battery: Unplug, remove straps, swap with a matching battery, reconnect wires.
- Fix Motor: Unplug, remove screws, clean or replace, realign with gears.
- Tighten Connections: Clean corrosion, secure wires, apply dielectric grease.
- Swap Switches: Unplug, replace, reconnect wires, test before reassembling.
Follow these steps to get your toy back in action!
Preventative Maintenance
Keep your toy in top shape—more DIY tips here.
- Clean Regularly: Wipe down after use, especially if muddy.
- Inspect Monthly: Check for loose parts or worn tyres.
- Store Properly: Keep in a cool, dry place to protect the battery.
When to Seek Help
If electrical issues persist, the frame is damaged, or fixes don’t work, contact the manufacturer or a repair shop.
Conclusion
With these tips, you can fix your child’s ride-on toy and keep it running smoothly in 2025—saving money and keeping the fun alive!
FAQs
How often should I charge the battery?
Charge after each use, 8-12 hours, but don’t exceed 24 hours to avoid overcharging.
What if the toy stops mid-ride?
Check battery connections and voltage—charge or replace if needed.
Can I use a car battery charger?
No, it’s too powerful and can damage the toy—use the manufacturer’s charger.
How do I fix slipping wheels?
Add rubber strips for traction or replace worn tyres.
Ready to Ride? 🚀
Loved “Beginner’s Guide to Repairing Your Kid’s Electric Ride-On Toy?” Want more tips?
Visit RiiRoo.com or chat live with us for ride-on fun!


Share:
Here's The Difference Between Low/High Speed on Your Kids Ride On
The Difference Between a 2-Stroke and 4-Stroke Engine