


Updated: 24.4.25
We’ve all faced it — that moment when it’s time to get your dirt bike up on a stand, and it’s not as easy as it sounds. Whether you’re a complete beginner or a seasoned pro, mastering this process is key for safe maintenance, quick checks, and extending the life of your bike.
This guide breaks down the entire process step by step, explains the pros and cons of different stands, and gives you tips to safely elevate your bike — and your skills.
Why You Need a Dirt Bike Stand
A dirt bike stand is more than just a convenience — it’s a foundational tool for maintenance, storage, and repairs. It prevents flat spots on tyres, keeps the suspension relaxed, and allows easy access for servicing.
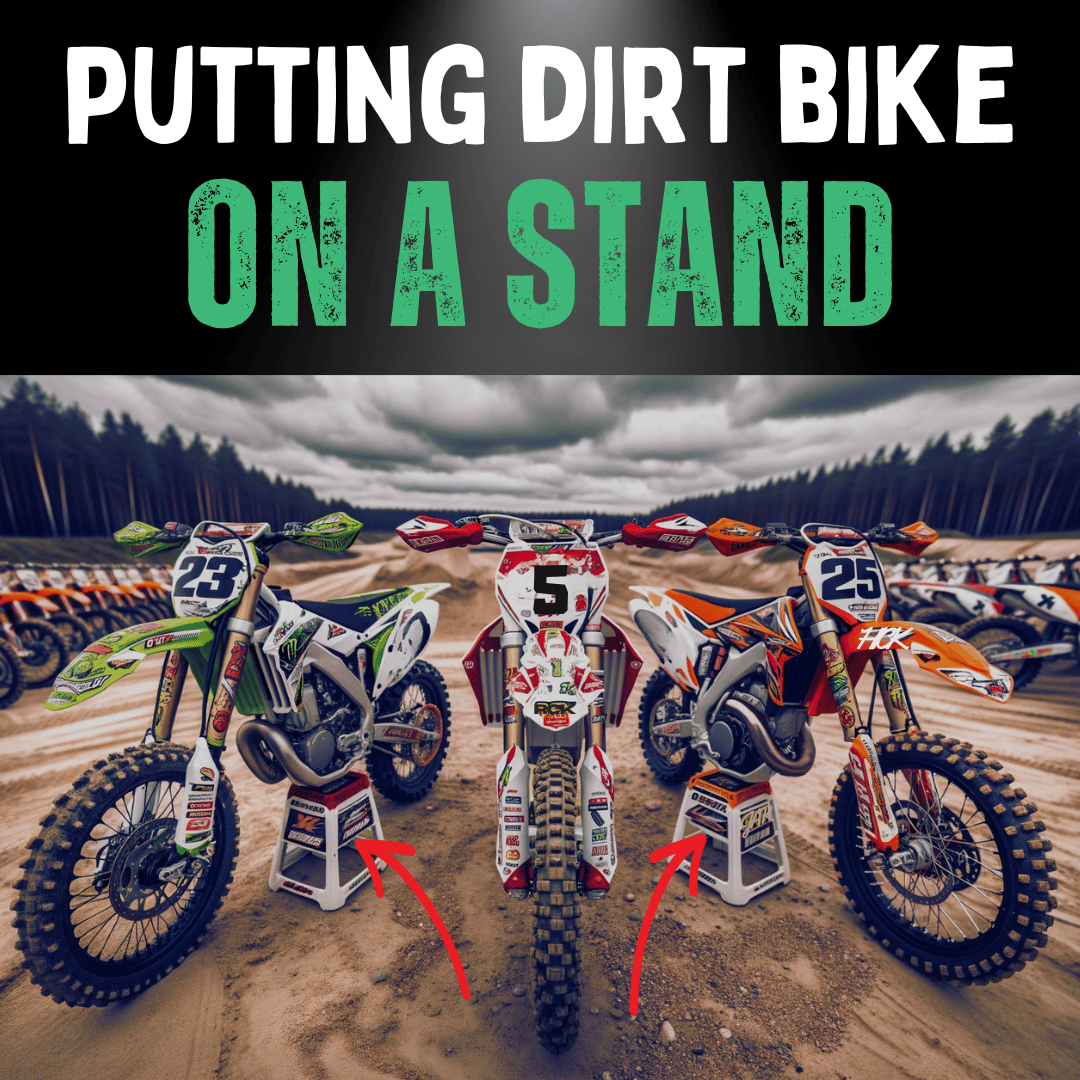
Step-by-Step: How to Put a Dirt Bike on a Stand
| Steps to Put a Dirt Bike on a Stand |
|---|
| 1. Choose the Ideal Stand for Your Needs |
| 2. Perfect Positioning is Key |
| 3. Master the Lifting Technique |
| 4. Using the Lift Stand |
| 5. The Regular Stand Routine |
| 6. The Side Panel Lift Method |
| 7. Safety First! |
1. Choose the Ideal Stand for Your Needs
Select a stand that suits your bike’s weight and size. Consider:
- Functionality: Lift, roll-on, triangle, or scissor stands all serve different purposes.
- Budget: Some stands come with higher price tags — but with better features.
- Portability: Lightweight or collapsible models are better for trail riding or travel.
- Durability: Look for strong materials like aluminium or reinforced steel.
2. Perfect Positioning
Set the stand on flat, clean ground. Position it in line with your bike’s centre to ensure balanced support. Avoid soft terrain like sand or wet grass.
3. Master the Lift
- Bend your knees and keep your back straight.
- Use gloves for better grip.
- Lift in one steady motion — avoid jerky movements.
4. Using a Lift Stand
- Make sure the mechanism is functional and stable.
- Align the bike’s frame with the centre of the lift platform.
- Engage the lift slowly to keep the bike balanced.
5. The Regular Stand Technique
- Approach at a slight angle to align the front wheel.
- Use body momentum and leverage for the lift.
6. Side Panel Lift Method
- Grab the rear tyre and side panel firmly.
- Lift using your legs, not your back.
7. Prioritise Safety
- Wear gloves and closed-toe shoes.
- Take your time — never rush the process.
- Inspect your stand before every use.
Types of Dirt Bike Stands: Pros & Cons
- Lift Stands: Easy to use, minimal effort — but often pricey.
- Roll-on Stands: Budget-friendly and simple — less height gain.
- Scissor Lifts: Great for full maintenance — heavy and bulky.
- Side Panel Lifts: Compact and lightweight — needs muscle.
- Triangle Stands: Ultra-portable — basic support only.
- Electric Stands: Push-button convenience — not very mobile.
- Wedges: Good lift for wheel access — not universal fit.
Maintenance While On the Stand
- Tyres: Check for wear, punctures, and correct pressure.
- Brakes: Look for pad wear and listen for grinding.
- Chain: Clean, lubricate, and tension properly.
- Fluids: Top up oil, coolant, and brake fluid.
- Cables: Ensure smooth throttle, clutch, and brake function.
Care and Storage for Stands
- Clean after each use to prevent grease build-up.
- Store indoors to avoid rust.
- Inspect moving parts and lubricate if needed.
When to Replace Your Dirt Bike Stand
- Visible cracks or warping
- Rust on load-bearing areas
- Wobbling or instability
- Lift mechanism not working smoothly
- Doesn’t support your new bike’s weight
Conclusion
Raising your dirt bike onto a stand doesn’t have to be a struggle. With the right stand, the correct technique, and a focus on safety, you’ll make this routine task second nature.
Looking for a new dirt bike stand or just getting into the sport? Check out our ride-on motorbikes and accessories designed for all young riders.
Need a Stand or Starter Bike?
Get your child geared up with ride-on motorbikes and durable accessories. Designed for mini-riders. Built for real adventure.


Share:
Are Dirt Bikes Automatic? - Here's the TRUTH About Automatics!
How Much Does A Dirt Bike Cost in 2025?